In this post let me show how you can install one of such software VMware workstation 16 on your windows 10 PC.
https://www.youtube.com/watch?v=Pf48WUCt4N4
What is VMWare Workstation Pro?
To begin with, VMware Workstation 16 Pro is a virtualization software from VMware Inc. USA for windows and Linux platform. For Mac OS it is available as VMware Fusion.
Lets get started. Installing the software is fairly straight forward. All you have to do is to download the installer from the website, run it and follow the instructions. Below are the steps:
Step 1- Download Link
Link for downloading the software is this. Download the software for windows. Good thing is that there is no signup process. Click and download begins. Software is around 622 MB.
Step 2- Download the installer file
It should probably be in the download folder by default, if you have not changed the settings in your browser. File name should be something like VMware-workstation-full-16.1.0-17198959.exe. This file name can change depending on the version of the software currently available for download. But for now, till the next version is available, they will all be VMware Workstation 16 Pro.
Step 3- Run the Installer
Find the installer on your system and double click to launch the application. By default, the downloaded files are placed in the downloads folder.
Now you should see User Access Control (UAC) dialog box. Click yes to continue.
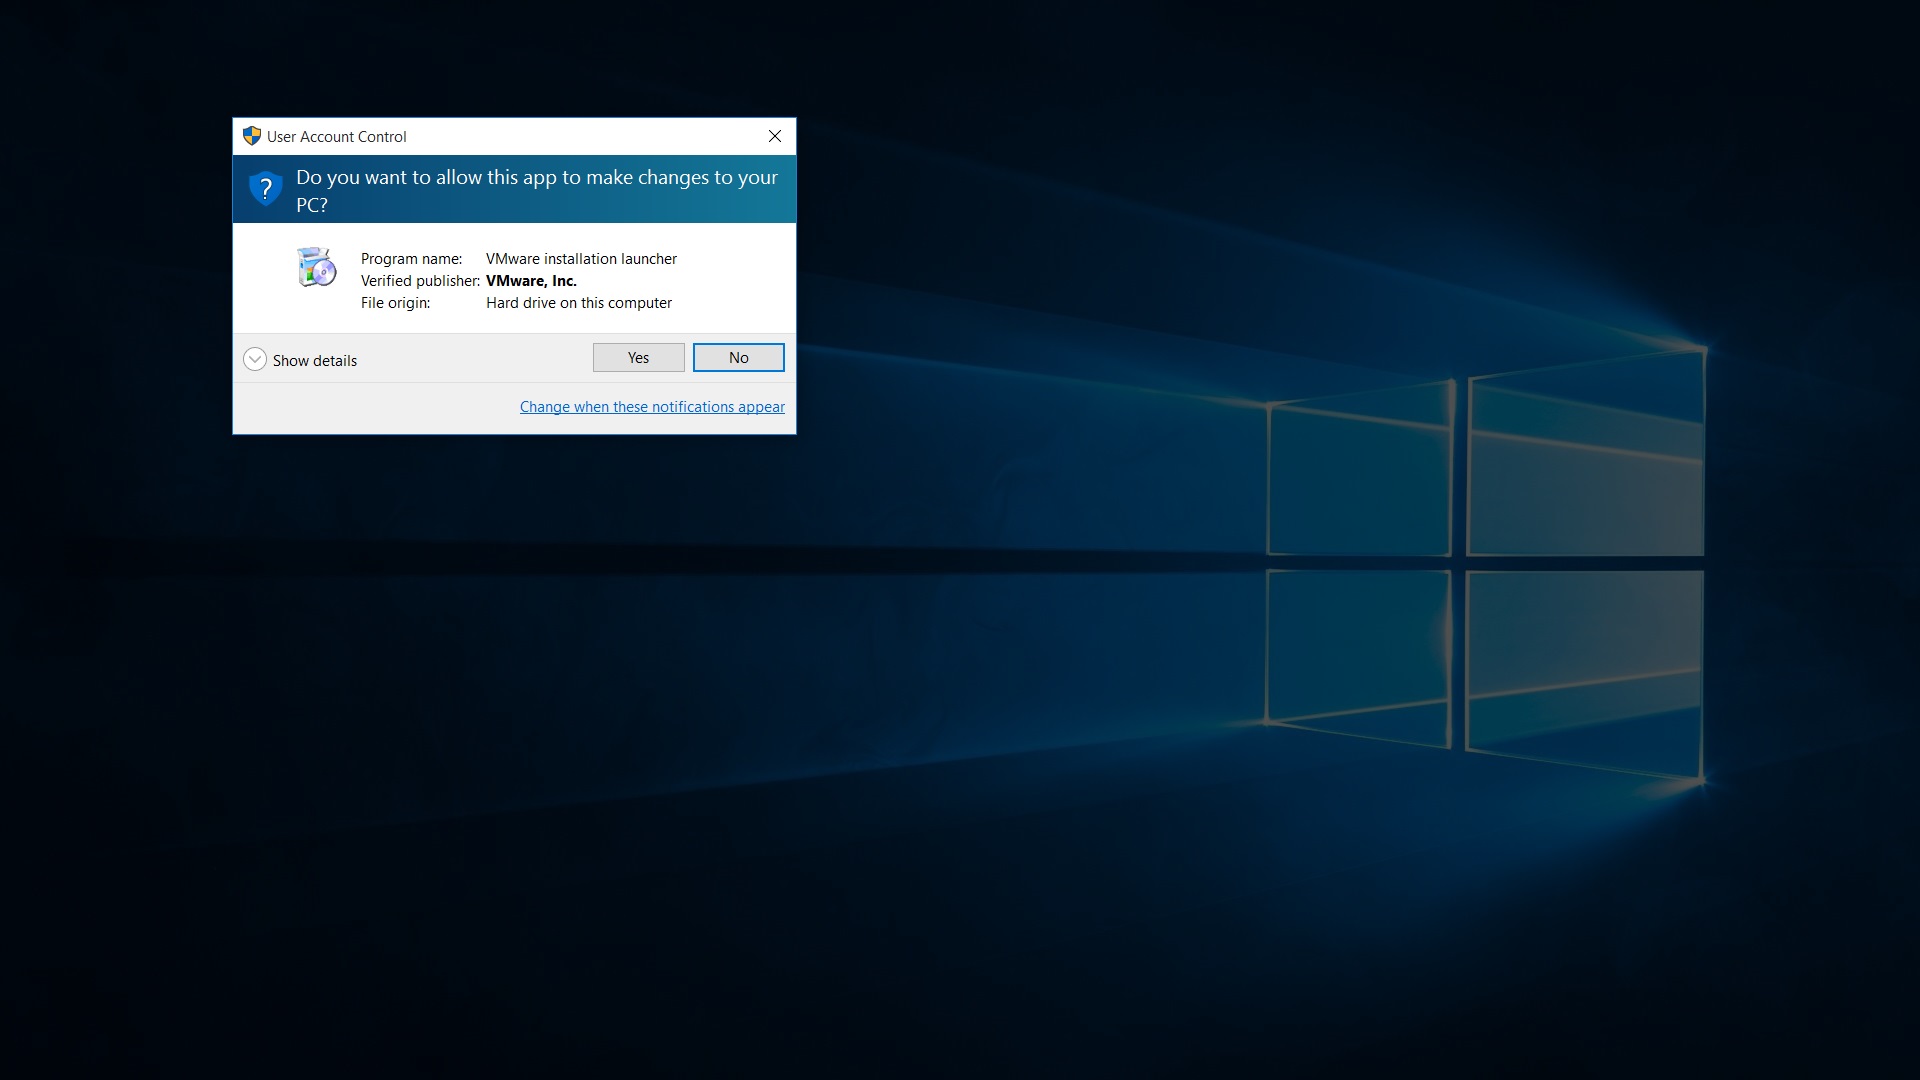
VMware Workstation 16 Pro installer windows 10 UAC screenshot
Initial Splash screen will appear. Wait for the process to complete.
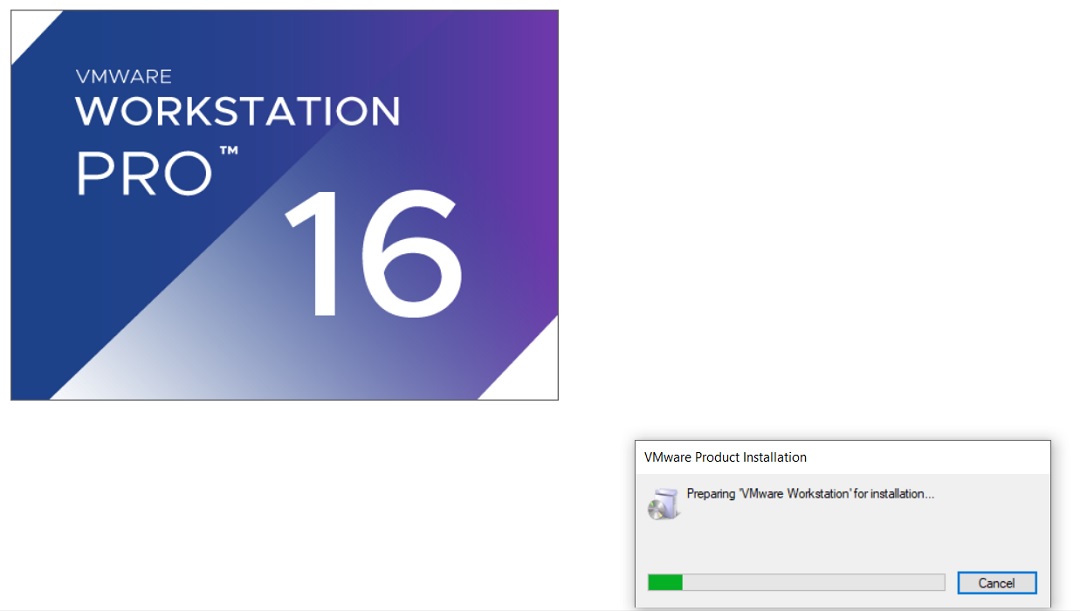
VMware Workstation 16 Pro Installation Splash Screen
Step 4- VMware Workstation Setup wizard
Now you will see VMware Workstation setup wizard dialog box. Click next to continue.
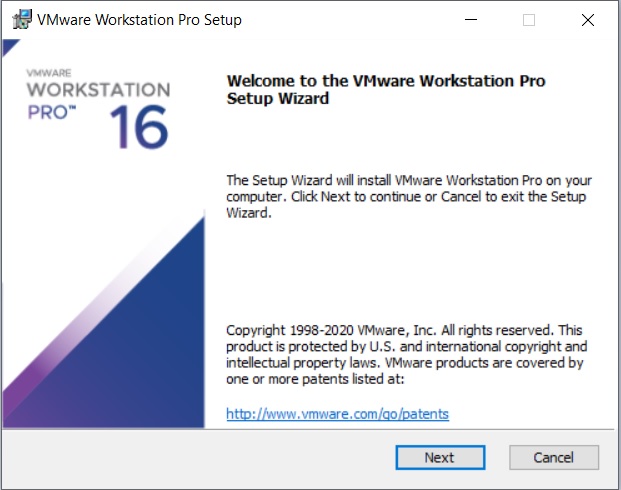
VMware Workstation 16 pro Installation – Setup Wizard
Step 5- End User Licence Agreement
This time you should see End User Licence Agreement dialog box. Check “I accept the terms in the Licence Agreement” box and press next to continue.
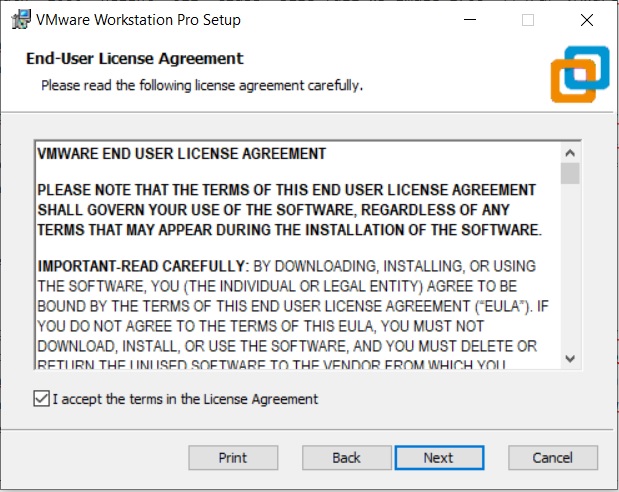
VMware Workstation 16 Pro Installation – End User Licence Agreement
Step 6- Custom Setup options
Select the folder in which you would like to install the application. There is no harm in leaving the defaults as it is. Also select Enhanced Keyboard Driver check box.
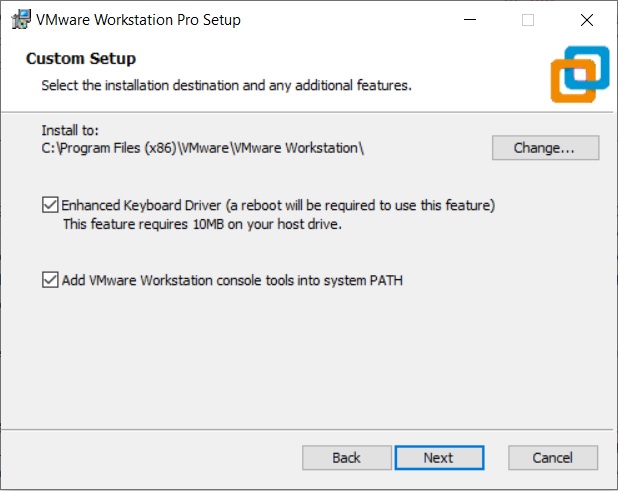
VMware Workstation 16 Pro installation – Select Installation Folder
Step 7- User Experience Settings
Next you are asked to select “Check for Updates” and “Help improve VMware Workstation Pro”. Do as you wish. I normally leave it to defaults that is unchecked.
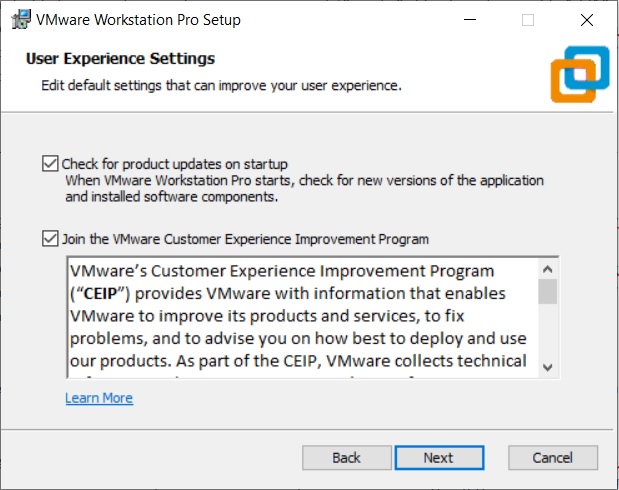
VMware Workstation 16 Pro Installation – User Experience Settings
Step 8- Application Shortcuts preference
Next step is to select the place you want the shortcut icons to be placed on your system to launch the application. Please select both the options, desktop and start menu and click next.
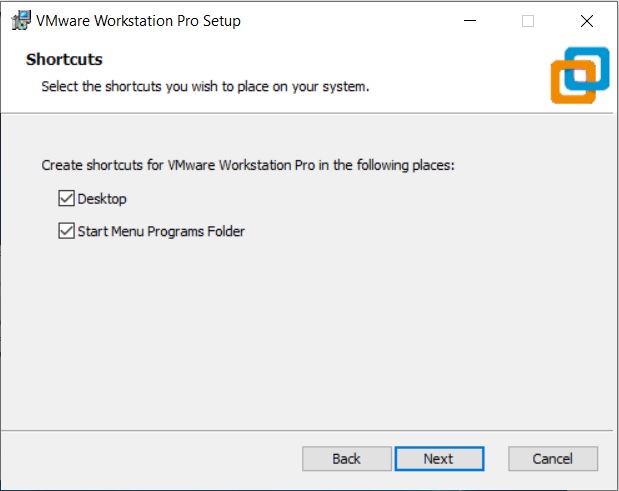
VMware workstation 16 Pro installation shortcut selection checkbox screenshot
Step 9- Installation begins
Now you see the begin installation dialog box. Click install to start the installation process.
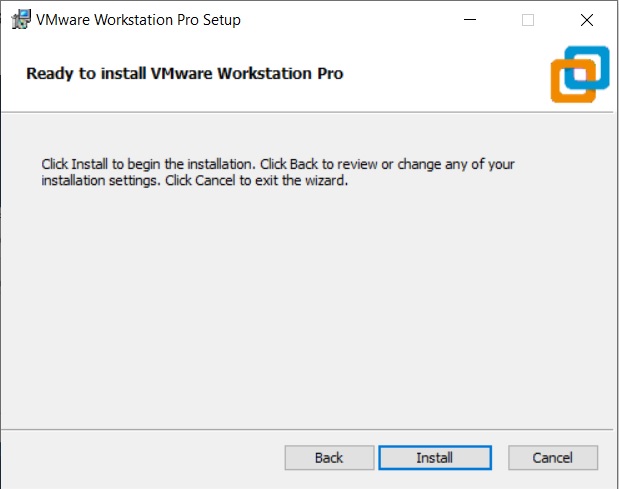
VMware Workstation 16 pro installation
Below screenshot shows Installation in progress. Wait for this to complete.
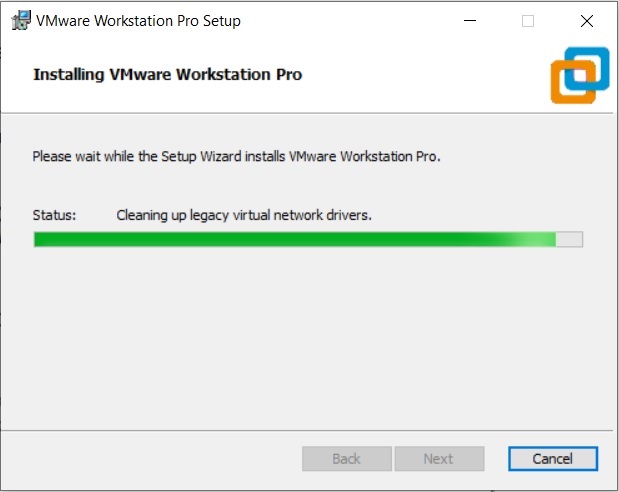
VMware Workstation 16 pro installation process
At the end you will see installation complete dialog box. Click finish and you are done with the installation process. You may be asked to restart your computer. Click on Yes to restart.
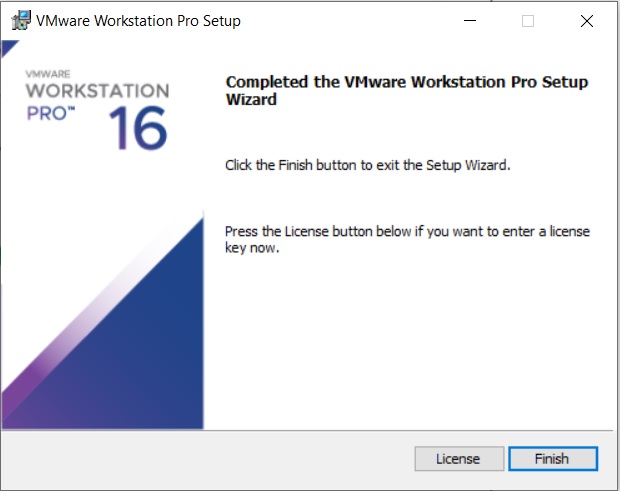
VMware Workstation 16 Pro Installation – Installation Complete
Step 10- Launch VMware Workstation
After the installation completes, you should see VMware Workstation icon on the desktop. Double click on it to launch the application.
Screenshot for VMware Workstation 16 Pro icon on windows 10 desktop.
Step 11- Licence Key
If you see the dialog box asking for licence key, click on trial or enter the licence key. If don’t have the licence key, you will have 30 days trial. Click on trial to start your trial.
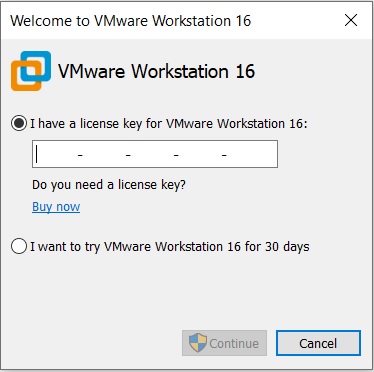
VMware Workstation – Enter License
That’s it, you can start using VMware Workstation.
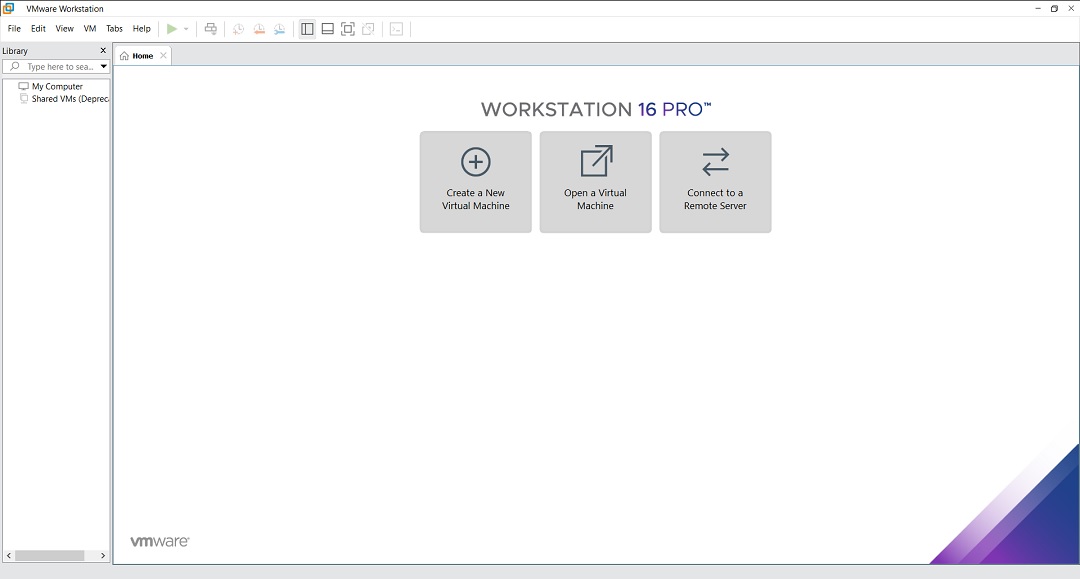
VMware Workstation 16 Pro home screen
Step 12- At some point if you decide to buy
At some point of time if you decide to buy the Licence key, you can enter the Licence key by going to Help->Enter a Licence Key
You can enter the 25 character licence key in the dialog box shown below and click OK. Now you have the licence version of the software.

I have installed vm ware workstation 17 pro.
I want to copy one folder from my original PC to vmware PC.
I downloaded a trial copy of vmware workstation 16 pro after watching your well documented instreuctions. When I started the installer, I got an error message “unsupported CPU”.
Here is my computer specs:
HP Z800 workstation (year launched 2014)
CPU: Intel Zeon E5530 @2.40GHz X 2 Gaintown Technology
RAM: 20.0 Triple Channel DDR @ 531MHz (7-7-7-20)
MotherB: HP 0AE Ch (cpuo processor)
Can you please recommend which Hyper-V will work with my Z800 please? I am using Win 10 64x
Can you try Oracle VirtualBox.
It is the greatest post ever.
It worked for me, but I also had to desactivate all de Hyper-V services from msconfig
Great post, but as of today there is an issue with running VMware while the credential guard is activated.
Hi King,
VMware now supports credential guard since version 14 and now version 15 in Windows 10 Enterprise editions. It was not supported for earlier versions of VMware.
https://www.derekseaman.com/2017/12/windows-10-credential-guard-vmware-workstation-14.html
Normally, If I want to work on VMware Worstation, I disable Hyper-v by running these commands as an admin.
Disable Hyper-V —— bcdedit /set hypervisorlaunchtype off (Restart system)
Enable Hyper-V ——– bcdedit /set hypervisorlaunchtype auto (Restart system)
After I disable Hyper-V, I don’t get the Credential Guard error.
If I am working on Docker, I enable Hyper-V because docker requires hyper-v.
Thanks,
Shailesh
Nice tutorial. Thanks
can you install VMware on another disc other than C?
Yes, you can. You can install any program in any directory other than C. Most of the time people install large programs in partitioned drives such as D to save disk space in drive C.
Hey Shailesh… its a nice and informative blog and video on VM Ware. Good One!!