This is step by step instructions on how to install Ubuntu Studio 16.04 and VMware tools in VMware Workstation 12 pro. If you are into creative field and looking for free open source GNU/Linux distribution, Ubuntu Studio is for you. This is feature packed OS with tools required by creative artists such as Photo editing, Video Editing, Video Recording and much more. The best part is all these tools are free.
Want to try out Ubuntu Studio, Lets get started:
Step 1 – Download Ubuntu Studio ISO image
This is straight forward. Download Ubuntu Studio from here. You can use torrent files instead of direct link because it is fast and also much more flexible. Since the file size is large, around 2.60 GB, it might take a while if you are on a slow connection.
Step 2 – Locate the downloaded file
You can find the downloaded image file in the downloads folder, if you have not changed the default settings. The filename would be something like ubuntustudio-16.04.1-dvd-amd64.iso
Step 3 – Open VMware Workstation 12
Lets start the installation process. Open VMware Workstation. If you dont have it installed already, please visit my page.
Step 4 – Launch VMware Workstation New Virtual Machine installation wizard.
You can launch this by clicking Create New Virtual Machine button on the home screen or go to menu File -> New Virtual Machine. The keyboard shortcut is Ctrl + N on Windows. VMware workstation supports tab view, which is, all the virtual machines running or stopped will show up in its own tab until you close them by clicking X on the tab itself. It’s the same as you see in the browsers where webpages open in separate tabs rather then separate windows. In software development terms, this is commonly referred to as the tabbed interface.
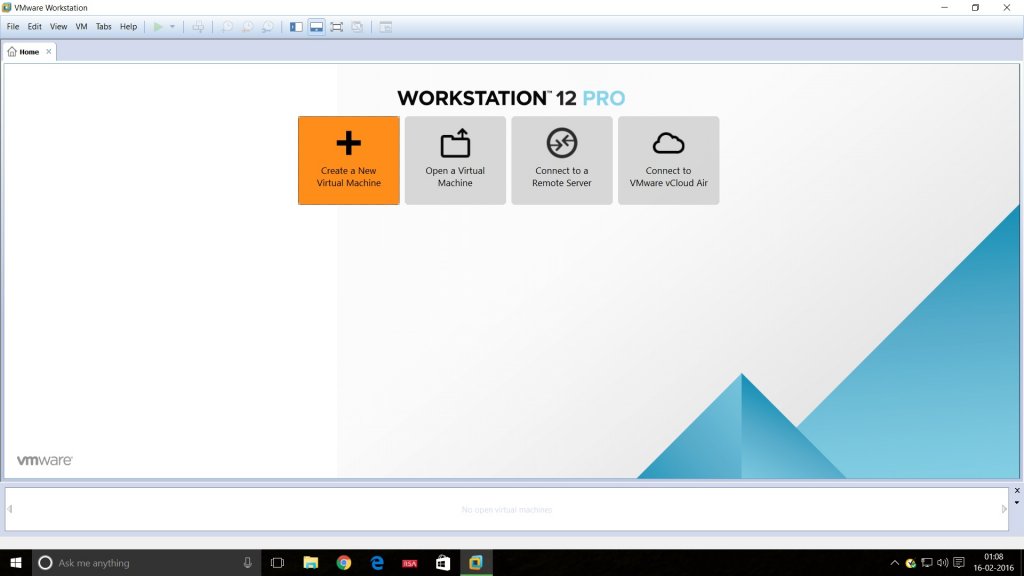
Vmware Workstation 12 home tab screenshot.
Step 5- Welcome to the new Virtual Machine Wizard dialog box appears
This is where you get a chance to select the way virtual machine will be created. Typical is predefined or mostly the defaults. Custom is where you get to set advanced options such as compatibility with older Virtual Machines, SCSI controller type, etc. We will go with the default options. Select Typical and click Next.
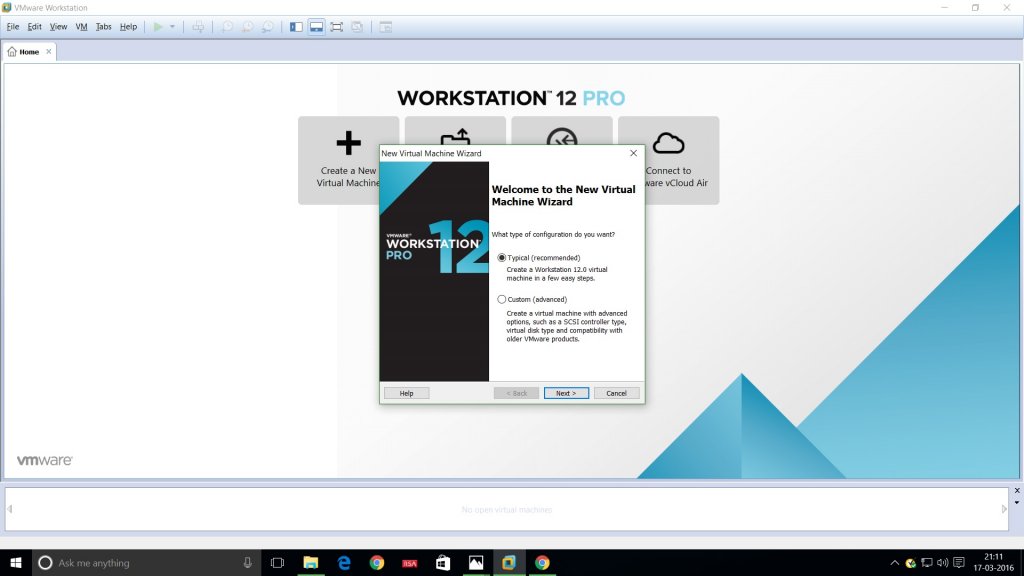
Vmware workstation 12 new virtual machine setup wizard screenshot
Step 6- Select installation media or source
In this dialog box you will have to browse to the downloaded ISO file and click next.
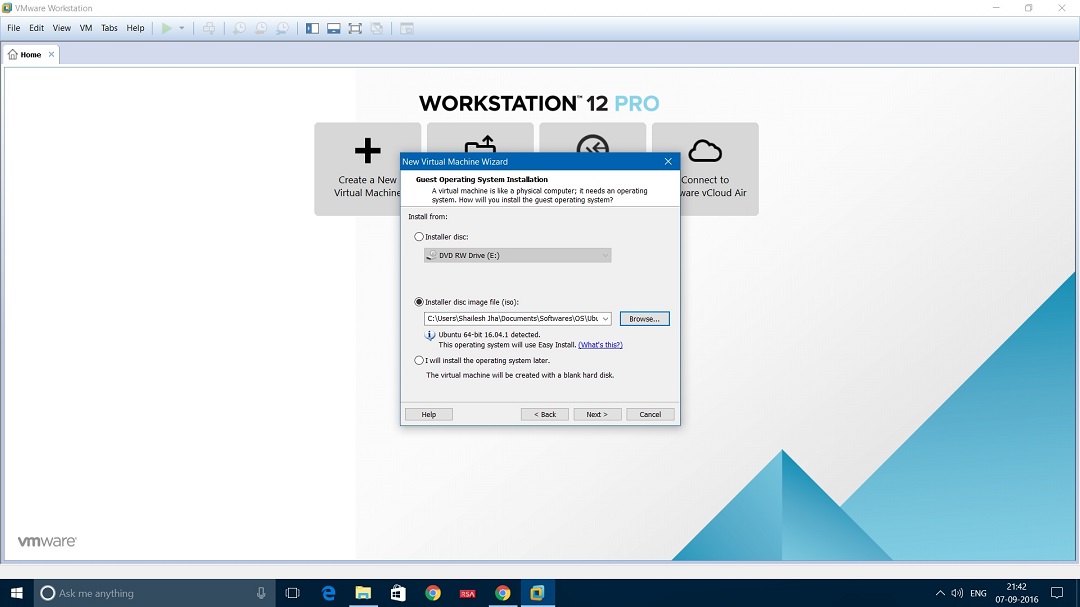
VMware Workstation 12 Pro – Install Ubuntu Studio 16.04 – Installer disk image file dialog box screenshot.
Step 7- Enter details in Personalize Linux dialog box
In this dialog box you have to enter your Name, Username and Password. This will your Ubuntu Login credentials.
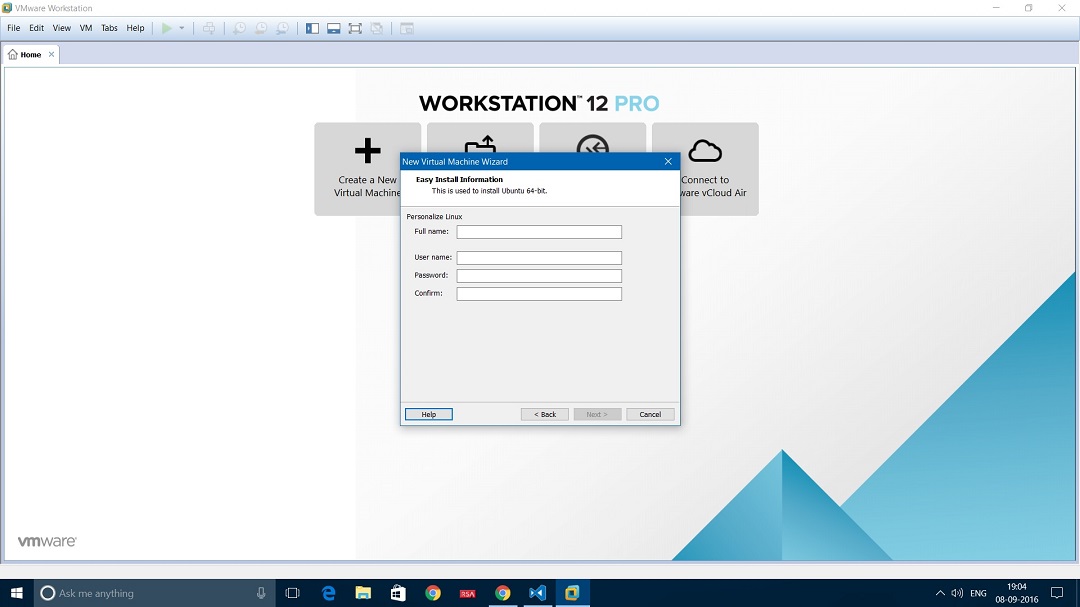
VMware Workstation 12 install ubuntu Server – personalize linux dialog box
Step 8- Enter Virtual Machine Name and Location
In this dialog box you please specify the name for your virtual machine. It could be anything meaningful. Alternatively you can accept the default. For the location, you can accept the default location or change it to your desired location. Default location is Virtual Machines folder in your Documents folder. A new folder is created in the Virtual Machines folder for each virtual machine you install through VMware workstation. The name of the folder is the same as the name of the virtual machine you enter here.
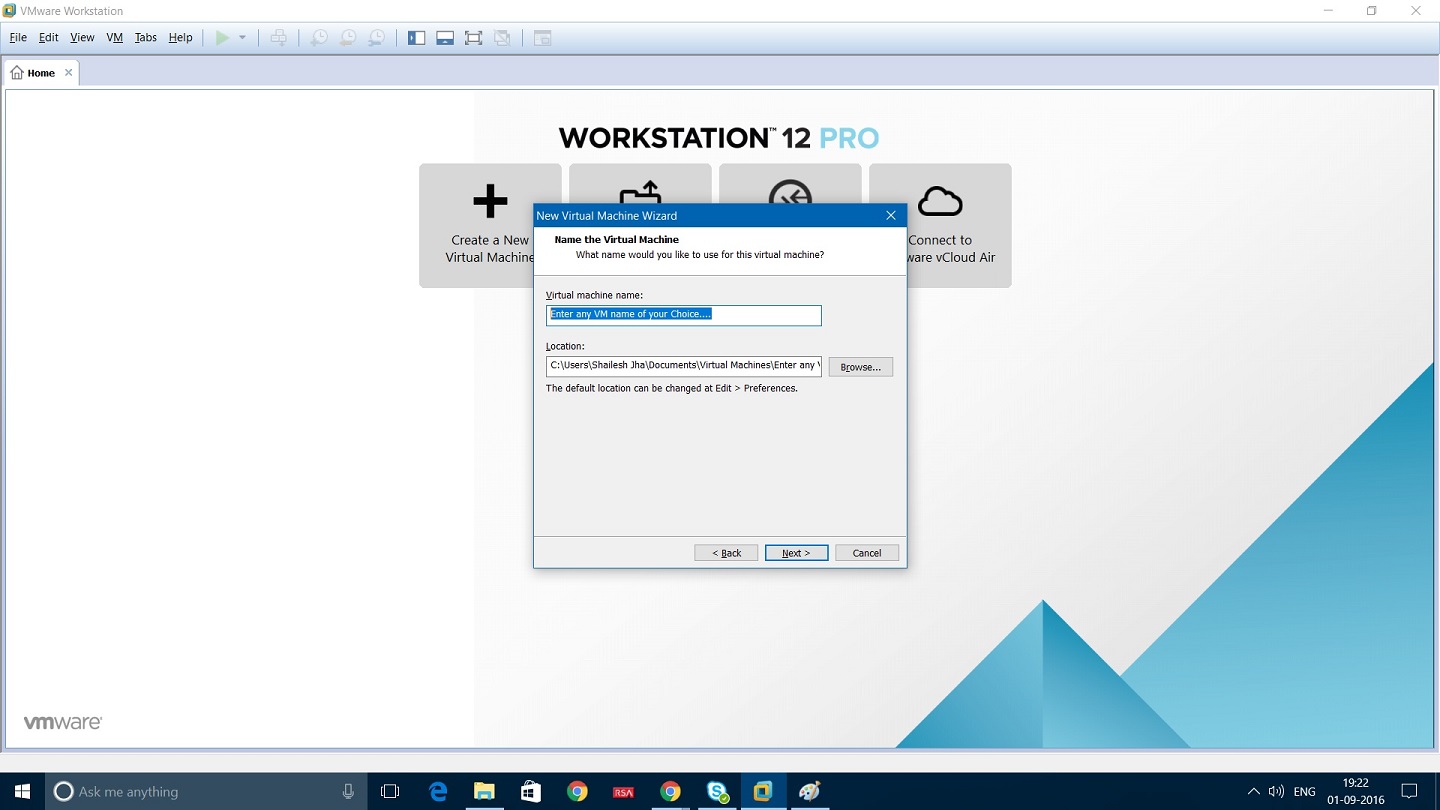
VMware Workstation name of the Virtual Machine dialog box screenshot
Step 9- Specify disk capacity
This dialog box asks you to specify the disk capacity. This is the maximum amount of disk space it will utilize once the Virtual Machine is created. You can leave it to the default but if you are running low on disk space, you can reduce it to 20 GB. This is generally sufficient if you are not planning to install heavy disk using software’s such as Photoshop. Such software’s reduce the performance of your Virtual Machine if your Computer is not powerful enough.
Check Split Virtual Disk into multiple files. This is the default option. Say if you specify 60 GB, all of 60 GB will not be utilized or say 60 GB will not be blocked at once. These Virtual Disks expand according to the usage with a Maximum size you specifed as the disk capacity. On a fresh install normally it takes 10 GB of space which will grow according to the software’s you install in the VM.

VMware Workstation specify disk capacity dialog box Screenshot
Step 10- Ready to create Virtual Machine Dialog Box
This is the final dialog box and what you see is all the options you have selected in previous dialog boxes. You will also see Memory, Network Adapter and Other Devices. They are the defaults. If you wish to change them, click on Customize Hardware. You can leave them as defaults for now, they can be changed later on also once the Virtual Machine is created. Please check the box Power on the virtual machine after creation
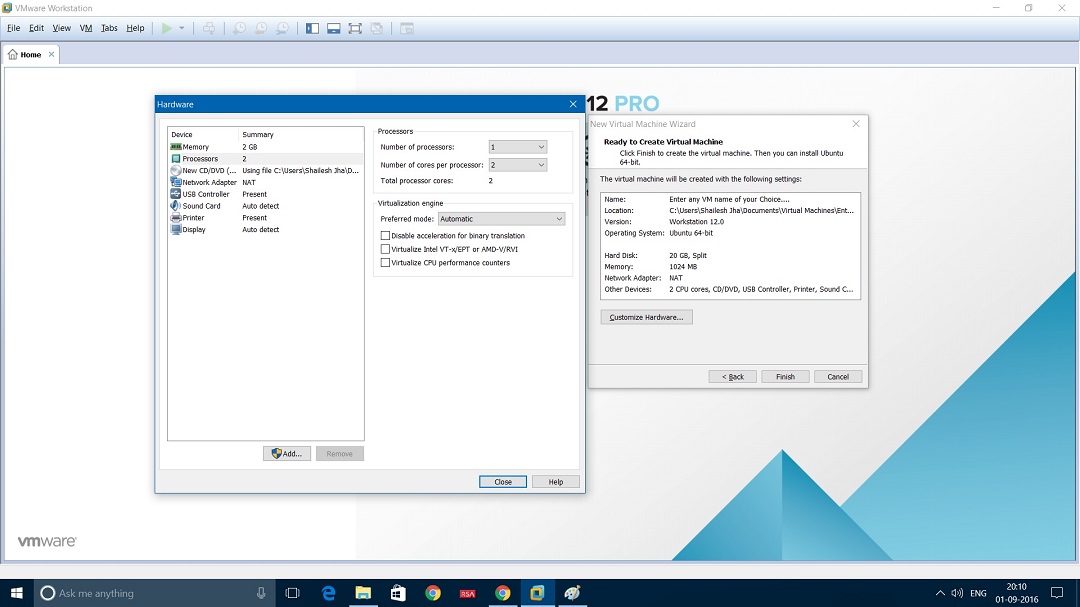
VMware Workstation ready to create virtual machine hardware settings dialog box screenshot.
Step 11 – Power on Virtual Machine
If you had checked the box – Power on the virtual machine after creation, the VM should restart automatically. Else you have to virtual machine manually. You can see the option to power on the VM on top left hand side.
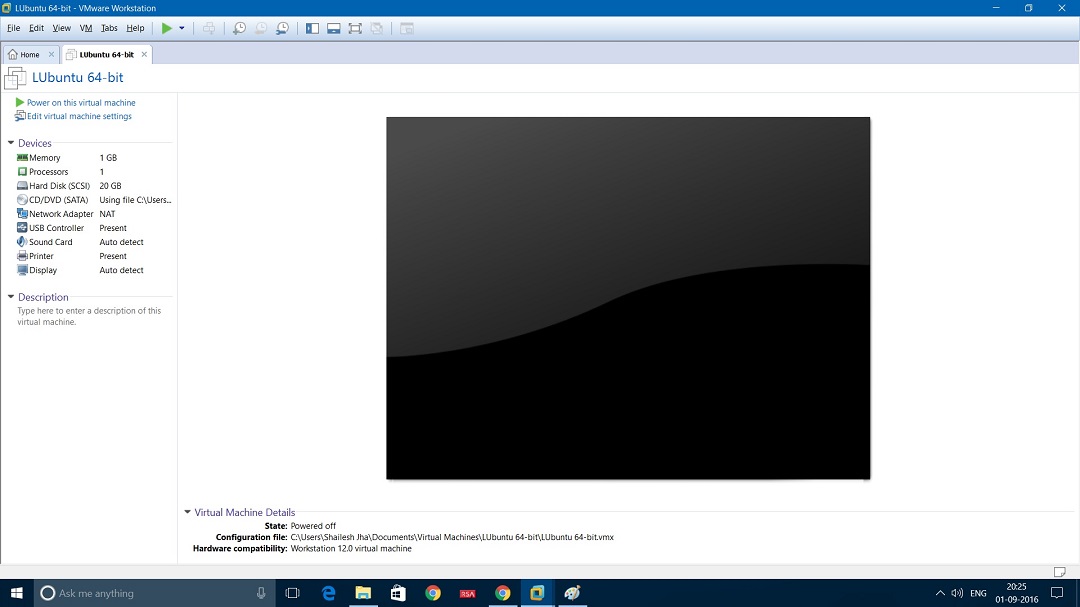
VMware Workstation Power on Virtual machine dialog box screenshot
Step 12 – Ubuntu Studio installation starts
After this you will see that the installation process starts. You will asked to select the multimedia packages to install. By default all are selected. There is no harm in leaving them as it is and accepting the default. Click Continue.

Ubuntu Studio install multimedia package screenshot
Please wait till the process completes. After an automatic restart you will be asked to enter your username and password to login.

Ubuntu Studio installation progress screenshot
Step 13 – Enter username and password to login in to Ubuntu Studio
Now you will have to enter your username and password to login to Ubuntu. This is the same username and password you had set earlier.

Ubuntu Studio login screenshot
Step 14 – Install VMware tools
In this version of Ubuntu Studio, VMware tools gets installed automatically. If you see VM-> Reinstall VMware tools, It means that the VMware tools has got installed. To check the version, open terminal and type the command
vmware-toolbox-cmd -v
If you see the version number number, VMware tools is installed.

Ubuntu Studio vmware tools version number
Step 14 – Switching to full screen mode
You should be able to see the Ubuntu Desktop in Full screen mode automatically. If you are not able to see the Ubuntu Desktop completely in full screen mode even after VMware tools is installed, you need to restart the system. Full screen mode should work now.