RedHat has released a new version of its flagship Linux operating system. In this blog, I will show you how to install Red Hat Enterprise Linux 8.1 in VirtualBox 6.1. We will also register/subscribe to Red Hat to enable all the features of Red hat Linux Enterprise 8 after the installation completes.
If you have not install VirtualBox yet, please follow my post How to install Oracle VirtualBox 6.1 in Windows 10
- If you want to install Red Hat Linux Enterprise in VMware Workstation Pro 15.5, Please follow my post
- If you want to install Red Hat Linux Enterprise in VMware Player 15, Please follow my post
To get started, we will have to first download the installer ISO.
Step 1 – Download Red Hat Linux ISO image
There are two websites from Red Hat from where you can download the ISO images for Red Hat Linux 8.1.
- https://access.redhat.com/ – From this website, you can download the latest version of Red Hat Linux 8 which is offered to enterprise customers and is not free. This however does offer you one year trial. In this blog, we will use this version and activate it, which is discussed later in the blog.To download the image, please visit the official download page. You will have to login to download the image.

Redhat Linux 8 download page
- https://developers.redhat.com/ – From this website, you can download the developer version of Red Hat Linux 8 which is not the latest release by Red Hat. It is generally one version behind the current release. You will have to activate the developer license, which is discussed later in the blog.To get the installer ISO image file, please visit the official download page. You will have to login to be able to download the image.
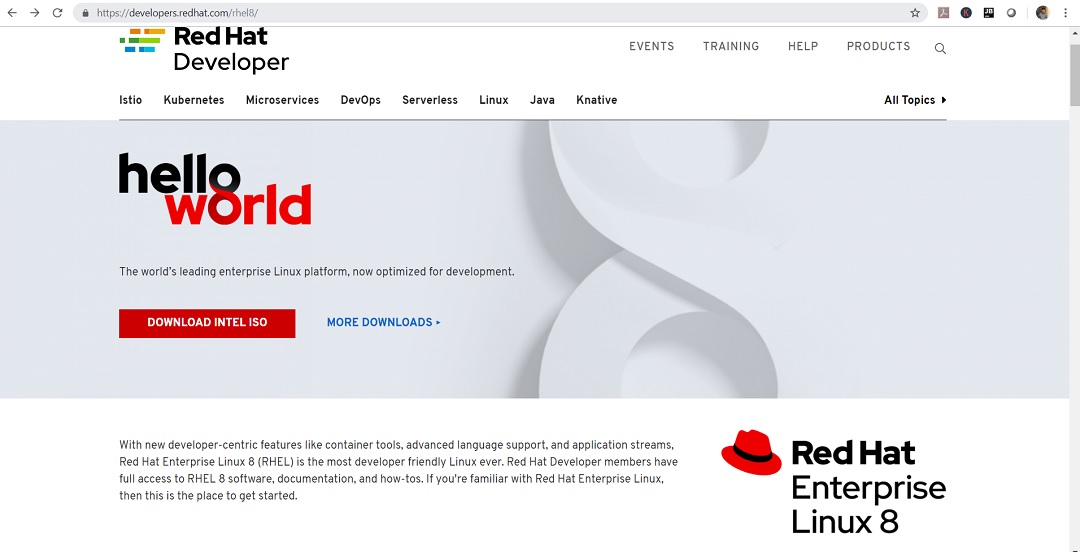
Red Hat Linux Enterprise Linux 8 – Web page
Step 2 – Locate the downloaded file
You can find the downloaded image file in the downloads folder, if you have not changed the default settings. The filename would be something like rhel-8.1-x86_64-dvd.iso. The file size would be around 7.3 GB.
Step 3- Open VirtualBox
Open VMware Workstation Player from Windows Start menu or from you desktop if you have VMware Workstation Player icon there.
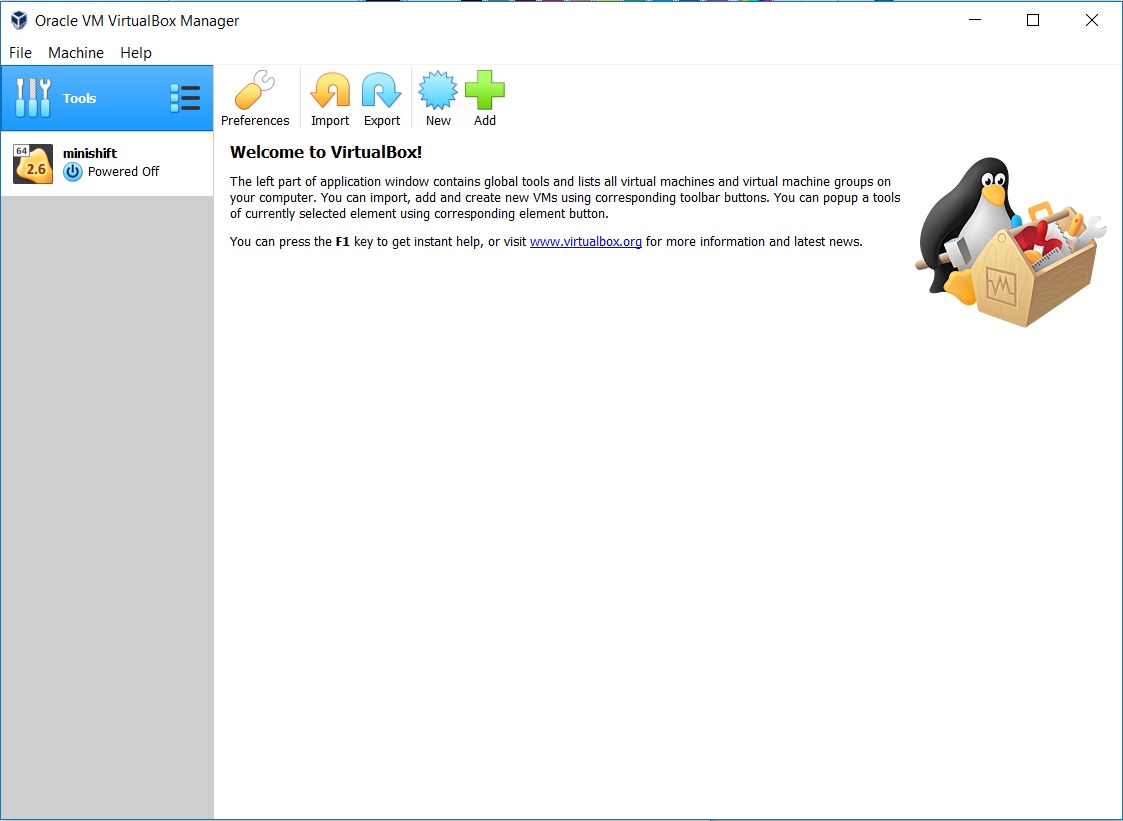
Oracle VM VirtualBox Manager
Step 4 – Launch VirtualBox Create Virtual Machine installation wizard.
You can launch this by clicking gear symbol highlighted in Red. The keyboard shortcut is Ctrl + N on Windows.

VirtualBox Manager – Create new VM
In the Create Virtual machine dialog box, enter a Name for the Virtual machine. This can be anything you want. VirtaulBox will also create a folder by this name in your computer to store the virtual machine files, path to which is your users folders which typically is something like “C:\Users\User name\VirtualBox VMs” by default. User name is the name of the user you are logged in as in windows which will vary for all of us. Specify the memory to be allocated to the VM. I generally feel that 1 GB is not sufficient and increase the memory to 2 GB.
Select Type: Linux
Version: Red Hat(64 bit)

VirtualBox – Create New Virtual Machine – Red Hat Enterprise 8
Select Click create to continue.
Now you will have to specify the disk space to allocate. I specify 60 GB. Leave the rest as default. Click Create to continue.

VirtualBox – Create Virtual Hard Disk – Red Hat Enterprise Linux 8
Now you will see the VirtualBox manager screen with the VM created.

VirtualBox Manager – Red Hat Virtual machine
Step 5 – Change Virtual machine settings
Now we will have to change the virtual machine settings. Click on the settings.

VirtualBox Manager – VM Settings
In the settings dialog box make the following changes:
- Go to General -> Advanced tab – Change Shared clipboard and Drag’n’Drop to bidirectional.

VirtualBox – VM General Settings
- Go to System -> Motherboard tab – Uncheck floppy.

VirtualBox – VM Motherboard Settings
- Go to System -> Processor tab – Increase number of processors to 2 have better performance. You can leave it as it is if you want. leave rest of the settings as it is.

VirtualBox – VM Processor Settings
- Go to System -> Acceleration tab – Accept the defaults and leave it as it is.

VirtualBox – VM system acceleration settings
- Go to Storage-> Optical Drive attribute – Click on the disk Icon and select Choose Virtual optical Disk file and navigate to the ISO image that you have downloaded.

VirtualBox – VM Storage settings
- Click OK to exit settings and return to VirtualBox Manager screen.
Step 6 – Click on the Start Icon to start the virtual machine
This will power on the virtual machine and the installation process will start.

VirtualBox – Start VM
Step 7 – Red hat Enterprise Linux 8 installation begins
After the VM starts, you will see Virtual Machine Window open with Red Hat Boot Loader. Click Inside the Window and Press I to select the first option or leave it as it is, the first option will be selected automatically.

Red Hat Enterprise 8 Installation – Boot Loader
Media Check will begin, wait for some time.

VirtualBox – Red Hat Linux Enterprise Installation – Media Check
The process will continue:
You will see the Installation Wizard starts and you will be asked to select your language.

Red Hat Enterprise Linux 8.1 Installation – Select Language
Click Continue to proceed.
Step 7 – Red Hat Enterprise Installation Summary
Now you will see various options that needs to be configured before the installation can start. Lets do it one by one.

Red Hat Enterprise Linux – Installation summary
-
Configure Time and Date
Under localization, we can see the Time and Date option, click on that to setup your time zone. You can either enter the Region and city or click on the Map to select your time zone. Click on Done to set up Date and time.

Red Hat Enterprise Linux Installation – Date and Time setup
-
Software Selection
In Software selection, you can choose which environment want to install. Since I will be installing it on my Personal Laptop, I will go for Workstation. You can choose server environment if you need a Red Hat Server. You can choose additional software you want to install based on your need such as container management. Its OK if you don’t select anything in the additional software, you can install them manually later on.

Red Hat Enterprise Linux 8 Installation – software selection

Red Hat Enterprise Linux 8 – Software Selection
Click Done to Continue.
-
Installation Destination
Here you have to select the disk where Red Hat will be installed. Click On ATA VBOX HARDDISH to select the disk and leave storage configuration as it is, that is default to Automatic.

Red Hat Enterprise Linux – Installation Destination

Red Hat Enterprise Linux Installation – Device Selection
Click Done to Continue.
-
Network and Host Name
Here you can specify the Network to use. Initially, It will be off. Turn it on by sliding the slider. I normally do not change the host name and leave the default.

Red Hat Enterprise Linux 8 – Network and Host Name

Red Hat Enterprise Linux 8 Installation – Network and Host Name
Click Done to Continue.
-
System Purpose
Here you can specify the purpose for which you want to use Red Hat Linux.I choose:
Role: Red Hat Enterprise Linux Workstation
Red Hat Service Level Agreement: Self-Support
Usage: Development/Test
Red Hat Enterprise Linux 8 – System Purpose

Red Hat Enterprise Linux 8 Installation – System Purpose
Click Done to Continue.
-
Begin Installation
After you have set all the requirements, you can start the installation process. Click on Begin Installation to Start the installation process.

Red Hat Enterprise Linux 8 – Begin Installation
Step 8 – User Settings
Now you will see the user settings screen and the progress of the installation process.
While the installation process continues, we can set the password for root user and create a user other than root.
-
Set root password
Click on root password not set, to set the root password.


Red Hat Enterprise Linux 8 Installation – Set Root Password
Enter the root password and click on done.
-
Create User
You can create a user other then a root user by clicking on User creation.

Red Hat Enterprise Linux 8 Installation – User Creation
Provide the user name and password of your choice. If you want to provide root or admin privilege to the user, check the box Make the user Administrator.

Red Hat Enterprise Linux 8 Installation – Create User
Click Done to continue and wait for the installation to complete.
Step 9 – Installation Complete – Reboot
Once the Installation completes, you will be asked to reboot.
Make sure that you have removed the ISO image from device. In the Device-> Optical Drives -> Remove Disk from Virtual Drive. If you miss this step, the installation will begin again. So be careful here.
Click on Reboot to restart the system.

Red Hat Enterprise Linux 8 Installation – Reboot
Step 10 – Licence Agreement and Subscribe to Red Hat
Once the System restarts, you will see the boot loader. Select the first option or wait for a few seconds for the system to automatically boot using the first option.

Red Hat Enterprise Linux 8 – Boot Loader
You will see the initial setup screen where you have to accept the licence agreement and Subscribe to Red Hat to register Product.

Red Hat Enterprise Linux 8 – Initial Setup
-
Accept Licence agreement
Click on License Information to read and accept the licence. Check box “I accept the licence agreement” and click on done to continue.

Red Hat Enterprise – License Agreement
-
Subscribe with Red Hat to activate the product
You can skip this step and click on Finish configuration to continue to Red Hat Linux login screen. But you will have to register Red Hat from terminal after you login.
The steps required to register from terminal using subscription manager is described later in the blog under alternate registration method.
Click on Subscription Manager to open the subscription window.

Red Hat Enterprise Linux 8 Installation – Subscription Manager
Subscription Manager Window will open, leave the default and click on next

Red Hat Enterprise Linux 8 Installation – Subscription Manager
Enter you Red Hat login credentials and click on register

Red Hat Enterprise Linux 8 Installation – Subscription Manager – Register
Wait for the process to complete, you will see the registering process window, wait for some time

Red Hat Enterprise Linux 8 Installation – Subscription Manager – Registration in progress
Now you will be asked to confirm subscription. Click on attach to continue

Red Hat Enterprise Linux 8 Installation – Subscription Manager – Confirm Subscription
Now you will see the registration confirmation message. Click on Done to continue.

Red Hat Enterprise Linux 8 Installation – Subscription Manager – Registration Confirmation
-
Finish Configuration
Now you are all done, click on Finish Subscription to login to Red Hat Linux.

Red Hat Enterprise Linux 8 Installation – Finish Configuration
Step – 11 – Login to Red Hat Enterprise Linux 8
After you click on Finish Configuration, you can see the Login screen with your user name. Click on the username and enter the password you entered in the earlier steps.
You can login as root use as well as with the username you created. The password will be what you setup in earlier steps.
In this blog, I will login with my user account and not as root.
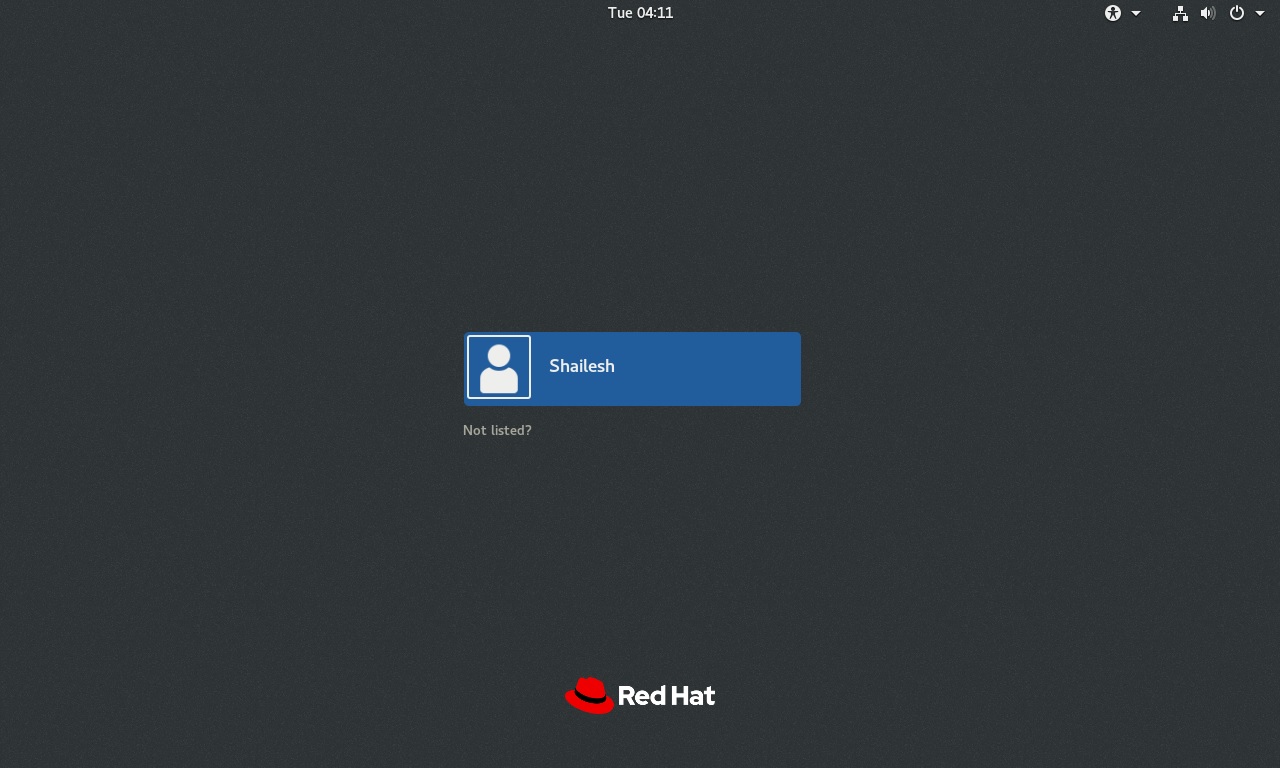
Red Hat Linux Login screen
Enter the password to login
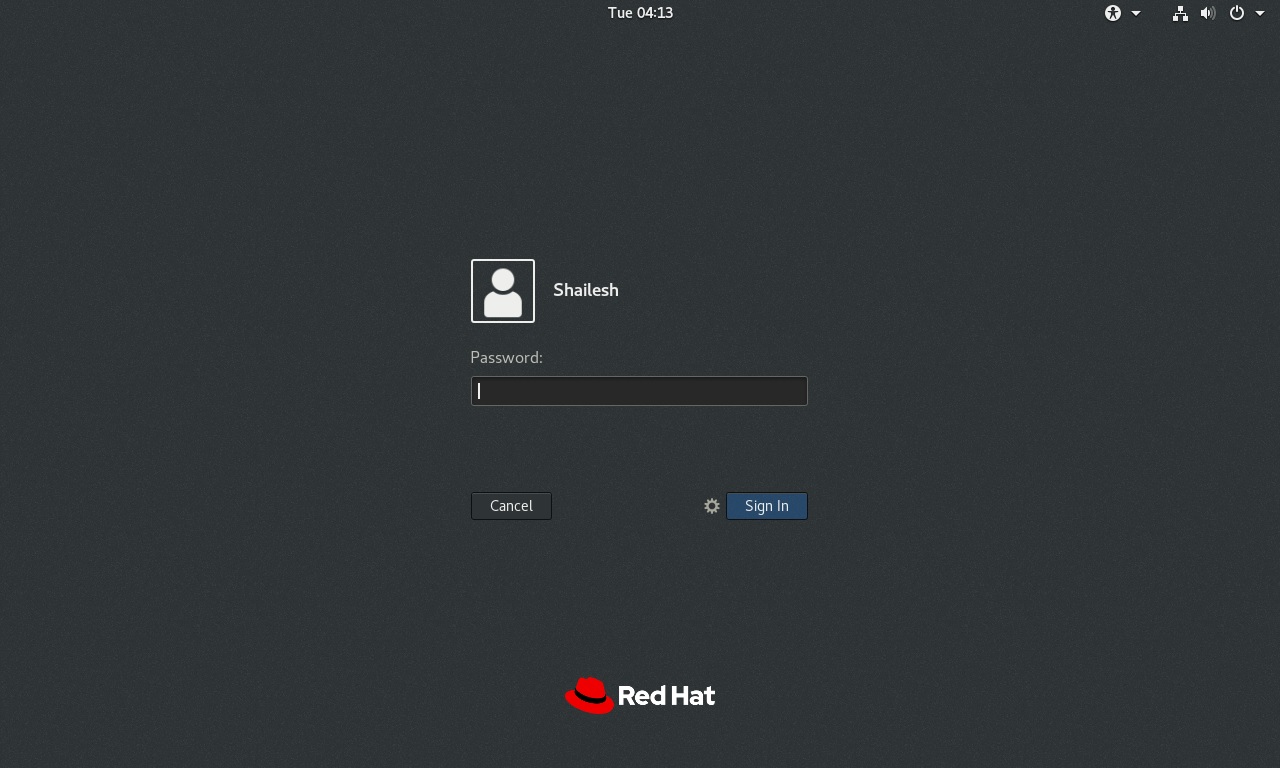
Red Hat Linux Login
You will see the Red Hat 8 desktop. That’s it you are done with the installation process.
Red Hat Linux 8
Step – 12 – Install Guest Editions to enable Full Screen Mode
By default Virtual Box will not switch to full screen mode for Red Hat Enterprise Linux 8. You will have to install VirtualBox Guest Editions manually to enable full screen mode.
Please follow my blog to install Virtual Box Guest Editions and enable full screen mode.
Use the below steps to Register and Subscribe to Red Hat using command line or terminal if you were not able to Register or skipped registration during installation.
Alternate method – 2 – Red Hat Linux 8 activation – Register System With Red Hat using Command line tool
When you install Red Hat, a lot of features are blocked until you register with Red Hat. Without registration, your Red Hat Installation is useless as you will not be able to access software and install anything.
Check the status of your Red Hat Subscription
You can check the status of your subscription using Red Hat Subscription Manager.
Goto Activities -> Show Applications -> Red Hat Subscription Manager
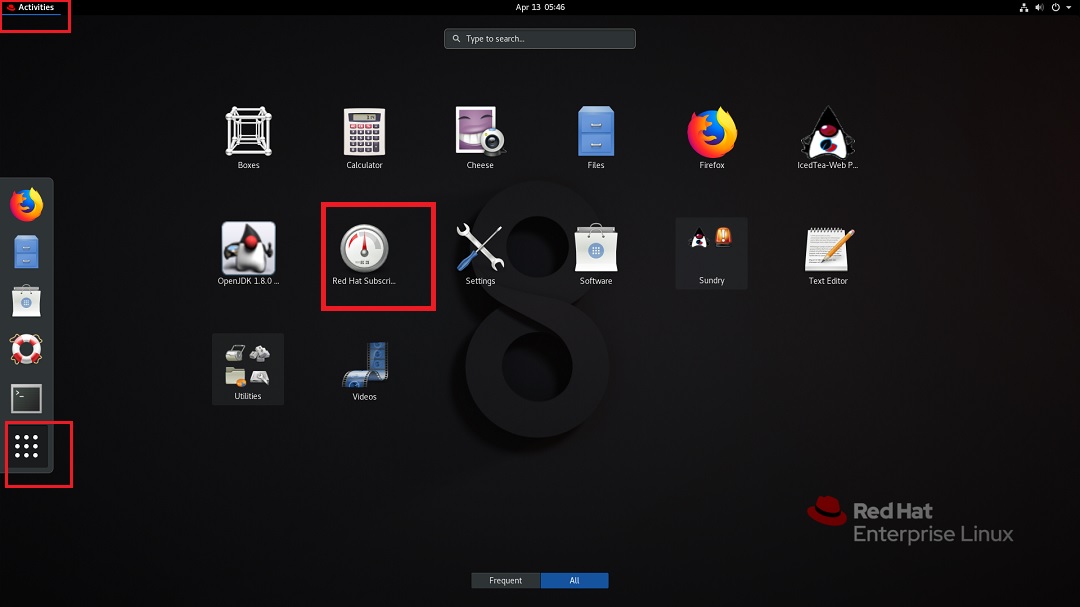
Red Hat Linux – Red Hat Subscription Manager
You will see Authentication Required dialog box. Enter your password and click Authenticate.
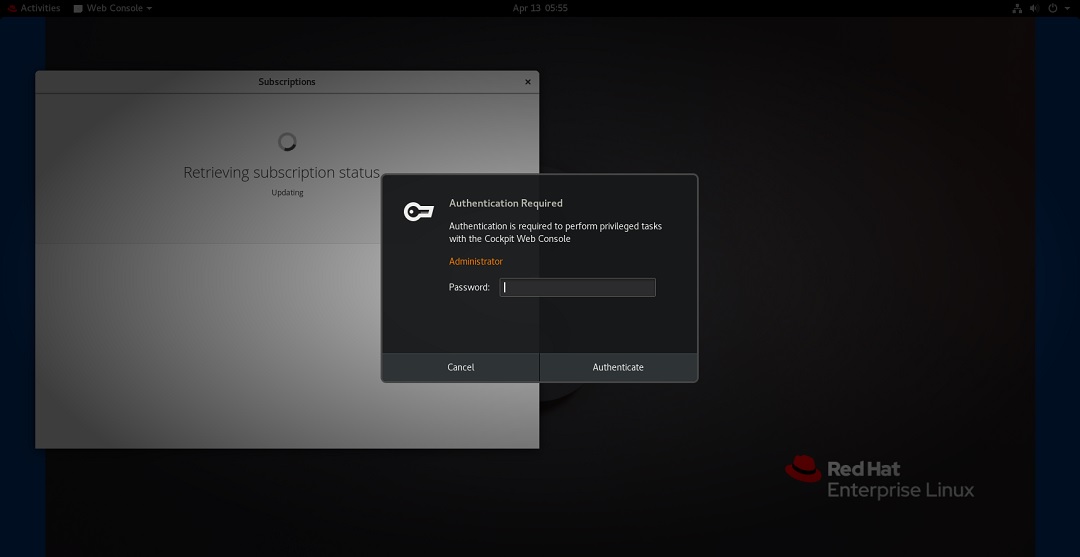
Red Hat Subscription Manager – Authentication required
In the Subscriptions dialog box, you will see status as not registered.
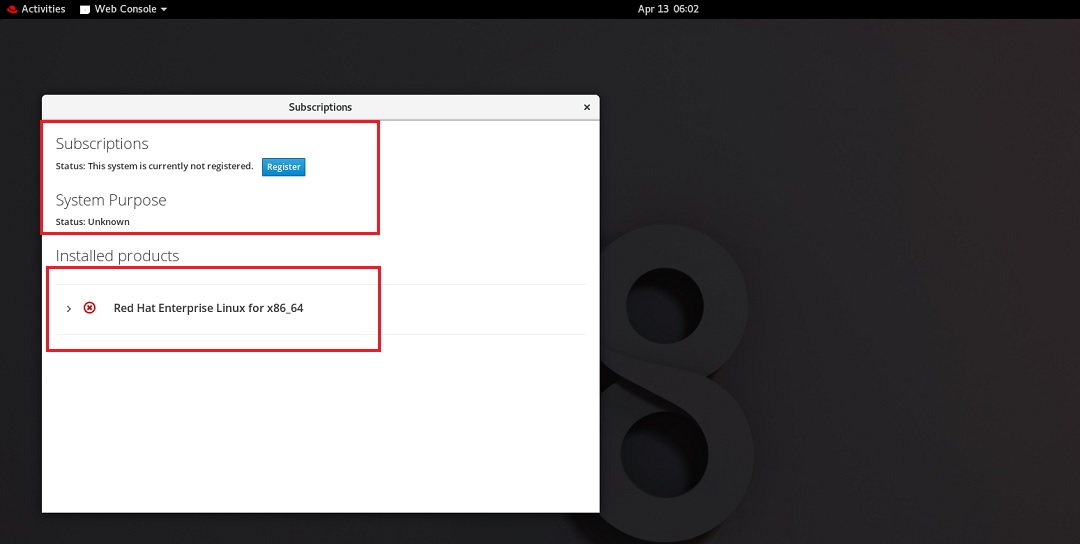
Red Hat Subscription Manager – Subscriptions
Register System with Red Hat Subscription manager
Red Hat ships with Red Hat Subscription Manager to manage your subscriptions with Red Hat. We will use the terminal and Red Hat Subscription manager command line tool to register.
Open terminal: Activities-> Terminal
-
Check subscription status using terminal
Type
subscription-manager statusin terminal and provide your password for root access when asked.In the output, you will see that the status is unknown.

Red Hat Subscription Manager – Status
-
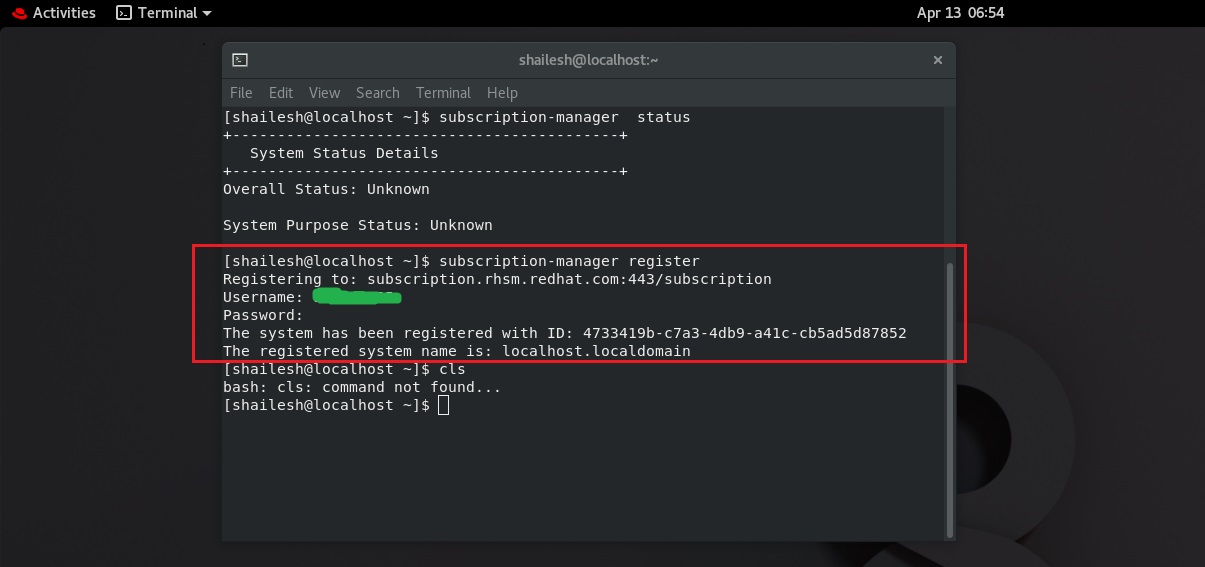
Register with Red Hat
Type the command in terminal to register Red Hat Linux with Red Hat.
subscription-manager register
Provide root access when askedProvide your username and password for your Red Hat account. This will register your system with Red Hat.
Red Hat Subscription Manager – Register System
-
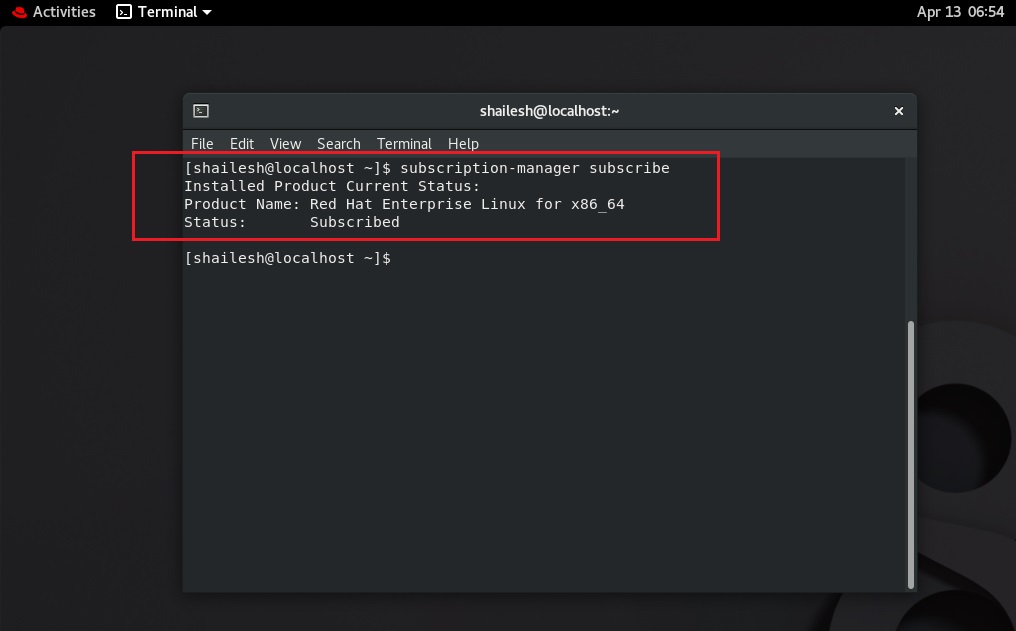
Subscribe to Red Hat
After registering your system with Red Hat, you will have to subscribe to Red Hat. Enter the following commands in terminal.
subscription-manager subscribeEnter root password if asked, you will see that the system get subscribed to Red Hat.
Red Hat Subscription Manager – Subscribe system
-
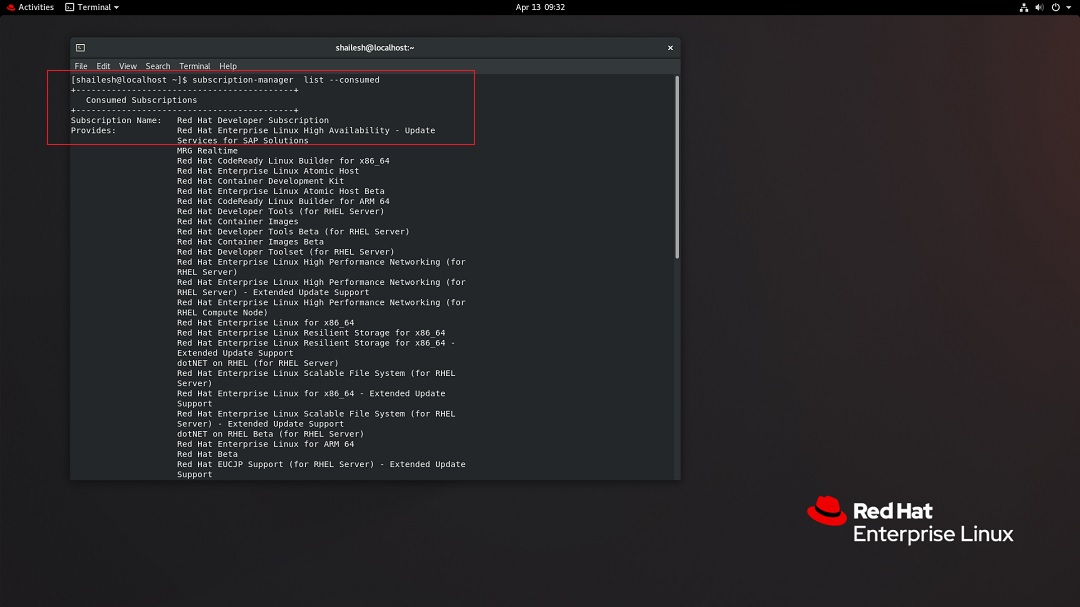
Check subscription if it is successful
Now lets check if our system has successfully registered with Red Hat. Enter the following commands in terminal.
subscription-manager list --consumedEnter root password if asked, you will see under subscription name that you have subscribed to the developer version of Red Hat Linux Enterprise 8
Red Hat Subscription Manager – Subscription List
When you scroll down you will see that your subscription is valid for 1 year from the start and end date.
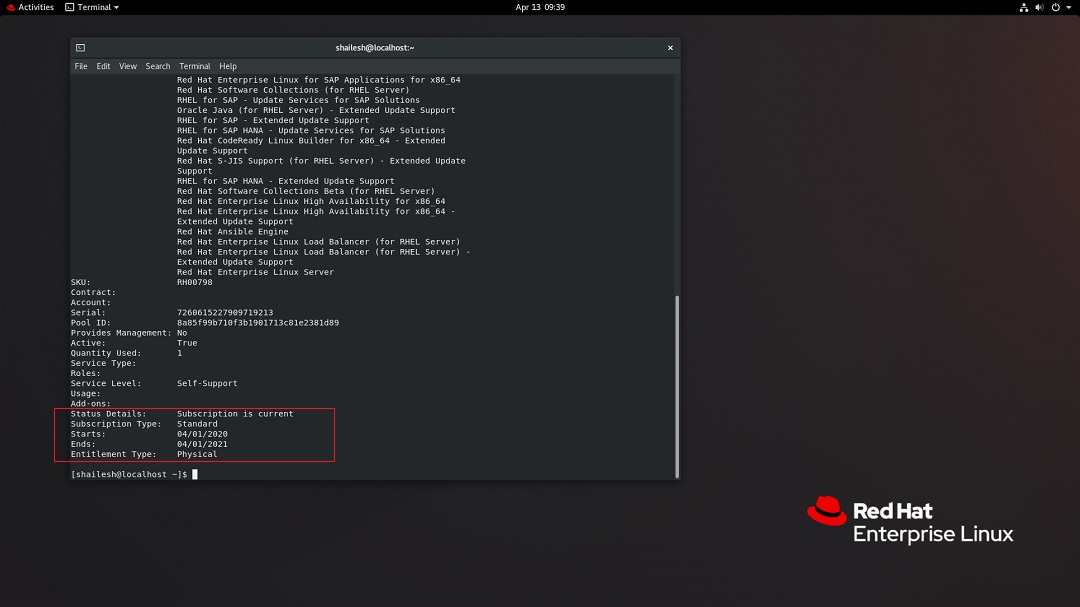
Red Hat Subscription Manager – Subscription List
In the Red Hat Subscription Manager also, now you can see that the system is registered.
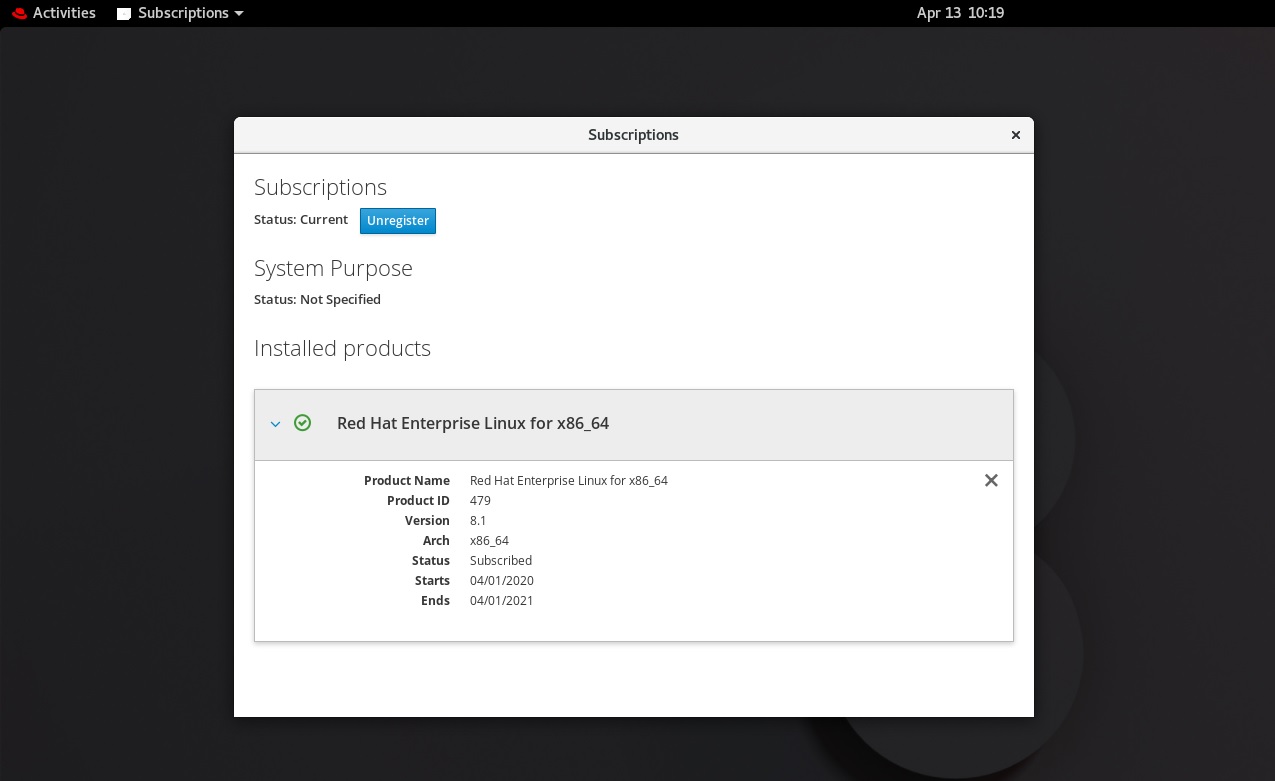
Red Hat Enterprise Linux – Subscription manager window
Update Red Hat Enterprise Linux
After you have successfully registered and subscribed with Red Hat, now you can access all the repositories and software. Lets update the system to see if it is successful.
Goto Activities -> Show applications -> Software
Click On Software

Red Hat Enterprise Linux – Show applications
When the software window opens, in updates click on download to start the update process

Red Hat Linux Enterprise – Software update
Wait for the process to complete, and will see Restart and update. Click on it to restart the system.
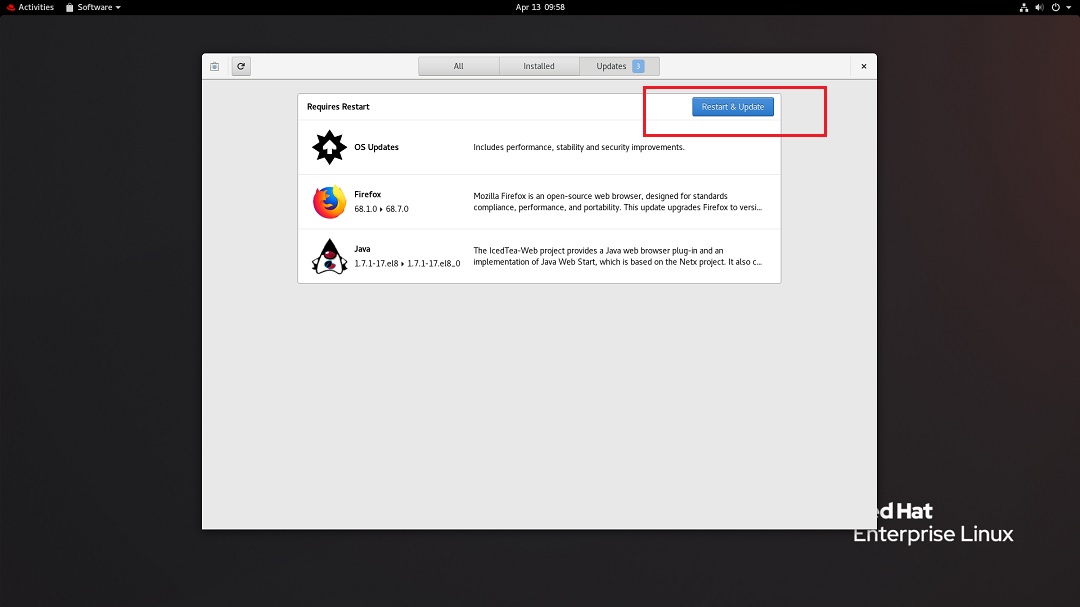
Red Hat Enterprise Linux – Software Update – Restart system
System will restart and the update will continue. Wait for the process to complete.
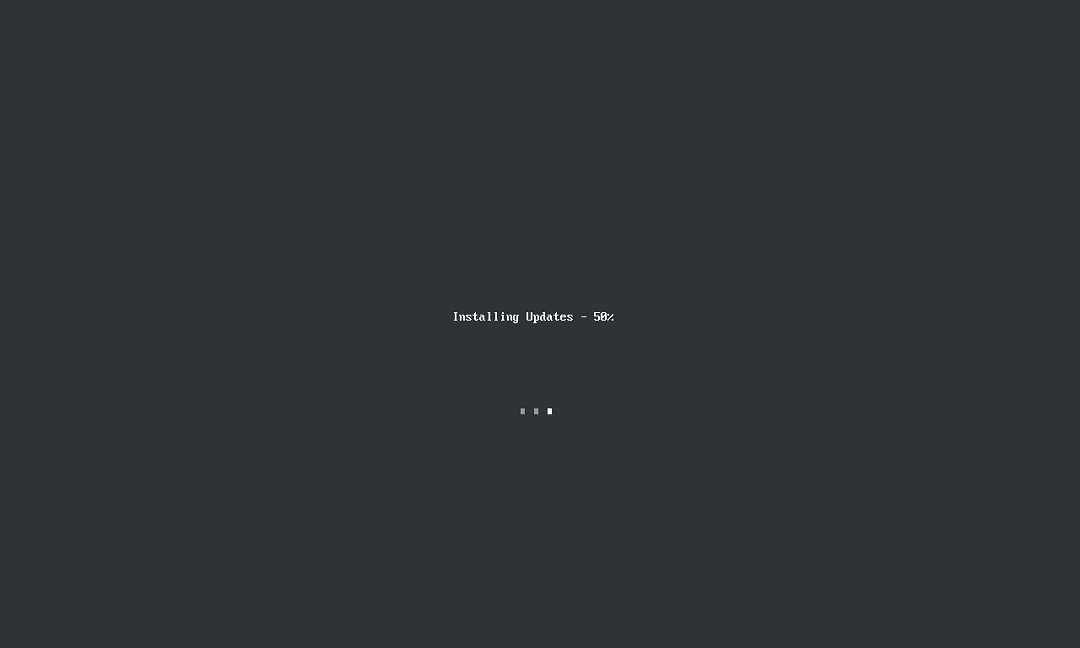
Red Hat Enterprise Linux – software update
After the update completes, you will see the login screen and you can login to Red Hat Enterprise Linux.
Thanks for visiting my blog.
see previous msg, forgot website link now added
excellent instructions, even though I am installing in Ora VB 7.1.8 , your screenshots helped me a lot to be successful.,
Thank you for the info. I only discovered your insight once i started my own installation, fortunately/unfortunately i checked the box for server instead of workstation and of course i selected every additional software option, so now i have a long installation…
But, thank you for your time and attention to this matter.
Thanks for the guide, I was able to complete this procedure with no problems at all.