In this blog post, I will show you how to install Java 8 on Windows 10 and Windows 11. There are been changes to how Java versions are released. Java 11 is the stable LTS release. If you want to install Java 11, please refer to my post on how to install Java 11 JDK on windows 10.
If you still want to use older version of Java, Java 8 should be your preferred option.
Please follow the steps to install Java 8 JDK on Windows 10.
You can either install JDK or JRE. JDK is the Java Development Kit and JRE is the Java Runtime Environment. You will have to install JDK if you want to develop Java applications on your local system. If you install JDK, JRE gets installed automatically as a part of the installation process.
Step 1- Download Java JDK 8
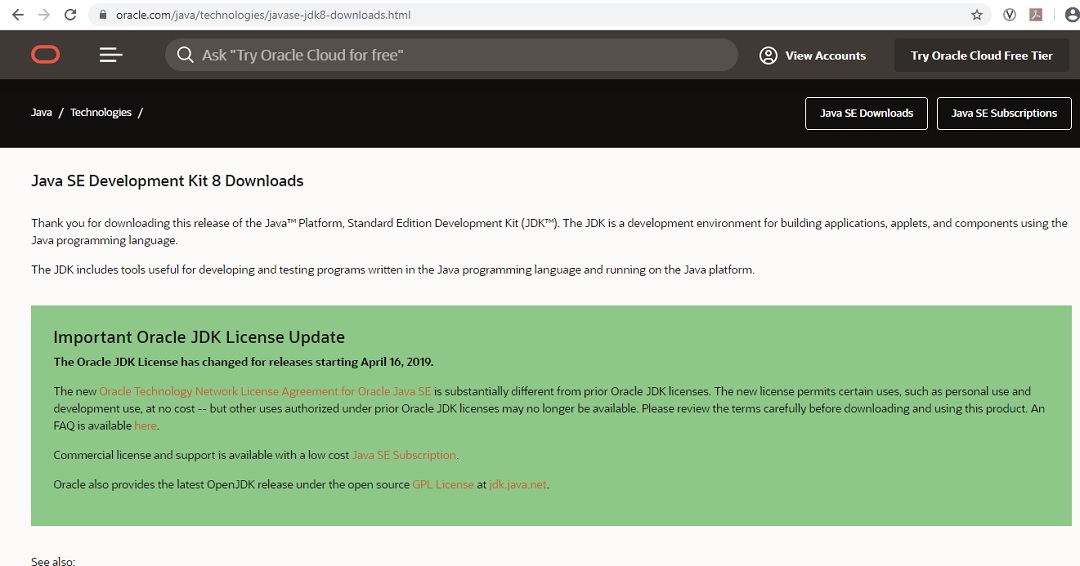
You can download Java 8 from the Oracle’s Java official website.
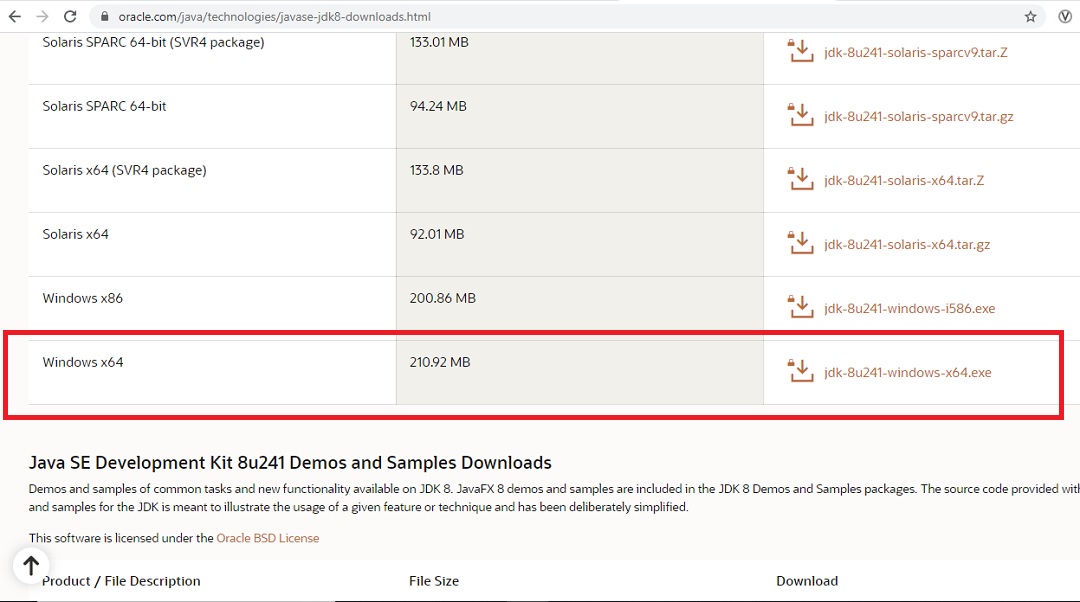
Scroll down and you will see various download options for various platforms.
You will see two option, 32 and 64 bit versions for download. You can choose either of them based on your system. Since the world is moving towards 64 bit architecture, I use the 64 bit version. File ending with i586.exe is the 32 bit version where as the file ending with x64 is the 64 bit version.
Click on the version you want to download which is 64 bit version which in my case is jdk-8u241-windows-x64.exe
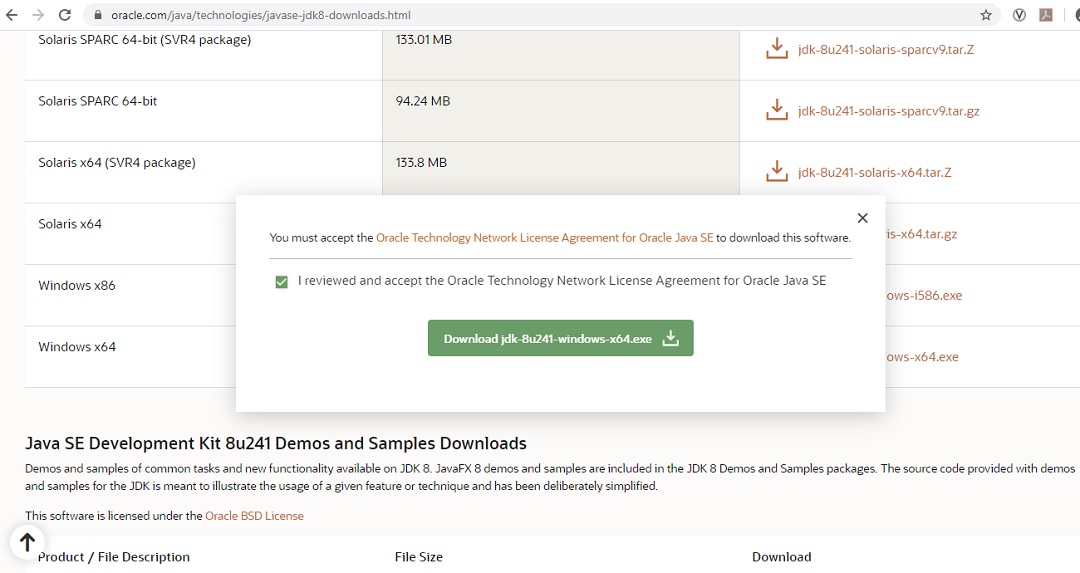
Go ahead, accept the licence agreement and download the file.
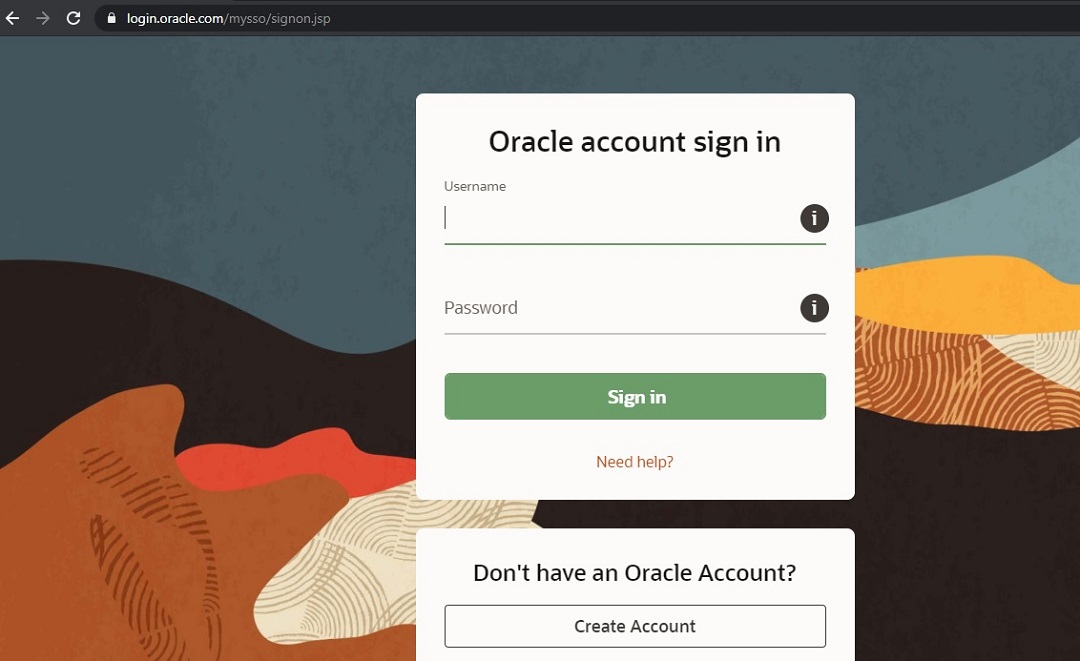
Oracle does not allow you to download older versions of Java such as Java 8 without registering with Oracle. That is you will have to create an account and login to be able to download.
Its better to have an Oracle account because for a lot of downloads, Oracle has stated asking users to login to download the files
You will be asked to login to start the download. If you don’t have an Oracle account, you can create here.
Step 2- Run the Installer
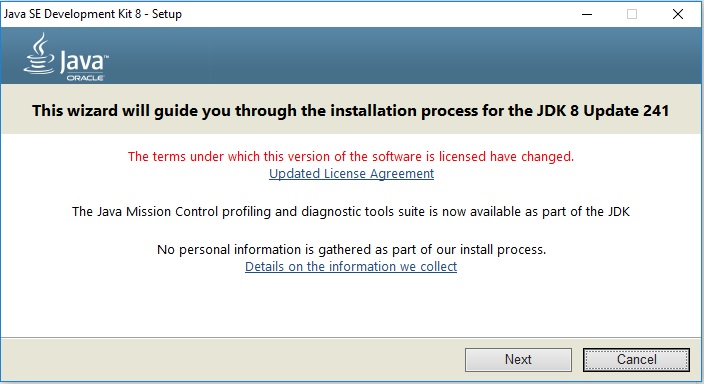
To start the installation process, run the installer by double clicking it. You will see the installation wizard.
Click Next to continue
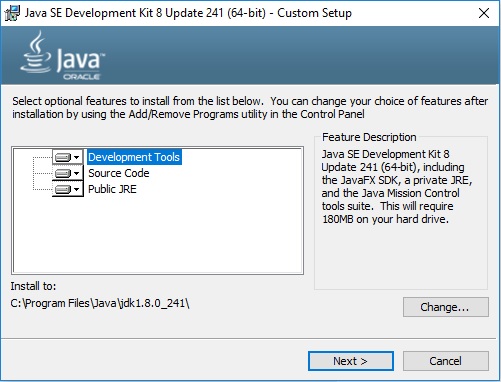
Step 3- Custom Setup
In this screen you can change certain installation defaults. I accept this as it is. You can change the installation directory if you want by clicking on change. Click next to continue.
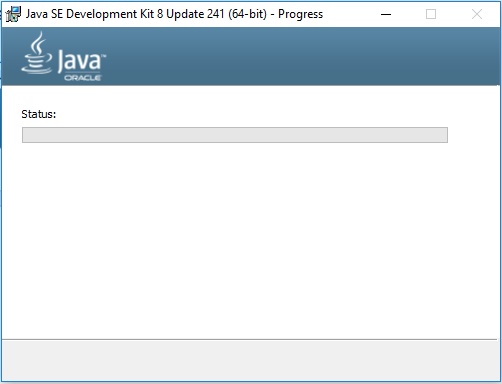
Step 4 – Installation begins
You will see the installation begins
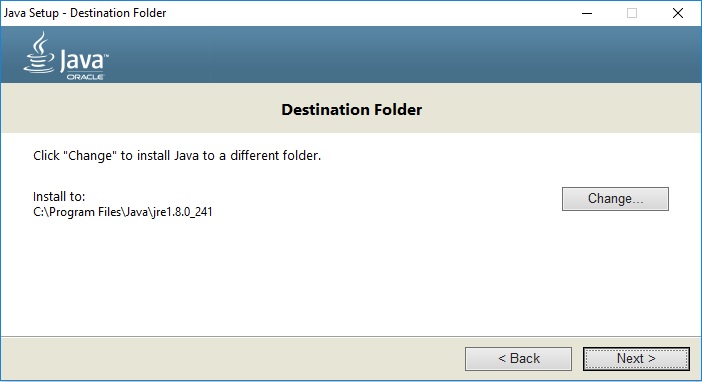
You will be asked to specify the default installation folder for JRE. I accept the default and click next.
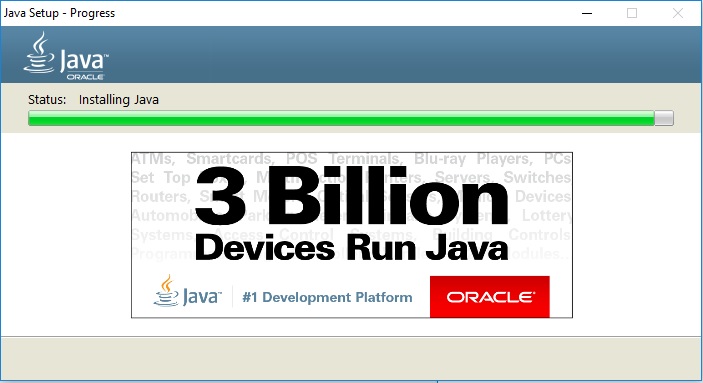
After this the installation will continue. Wait for sometime for the installation process to complete.
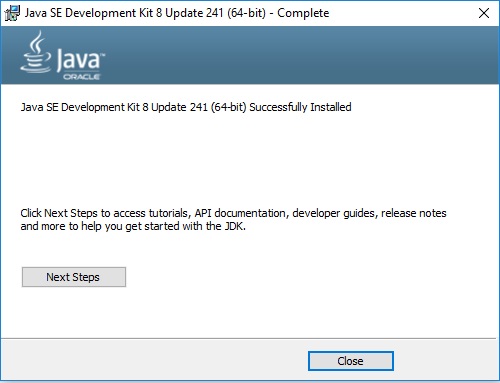
Once the installation completes, you will see the Installation complete message.
Click on close to complete the installation.
You don’t have to add Java installation directory to PATH. It will get added automatically.
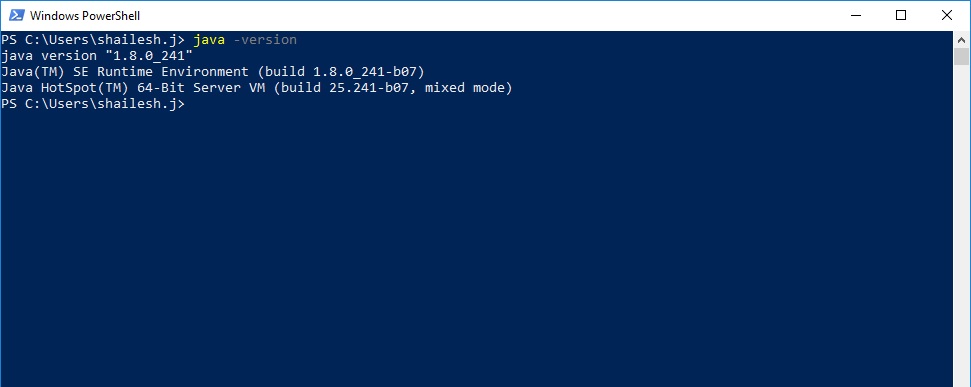
This can be confirmed by checking the Java version from PowerShell. If you see the output, all is working fine and Java Installation directory has been added to PATH.
Step 5- Check the version of Java installed
Go to windows terminal cmd or powershell and run the command
java -version to check the version of Java installed.
That’s it, now you have Java JDK installed on your system.
Thanks you…

such a nice and helpful instructions!
Thank You!
Nice Information. Thank you!
This is very helpful. Nice blog !