Git is a source code management (scm) software or to be more precise distributed version-control system (vcs) which is most widely used. It was conceived by Linus Torvalds, who is considered to be the creator and principal developer of Linux Kernal.
A developer should know how to use version control system such as Git to manage their source code. Github is a free repository of open source software which is publicly available.
In this blog we will see how to install Git version control system locally on your computer. This is used to check in or check out source code from Github. We will be installing GIT version 2.30.0 on Windows 10.
Lets get started:
Step 1 – Download the installer
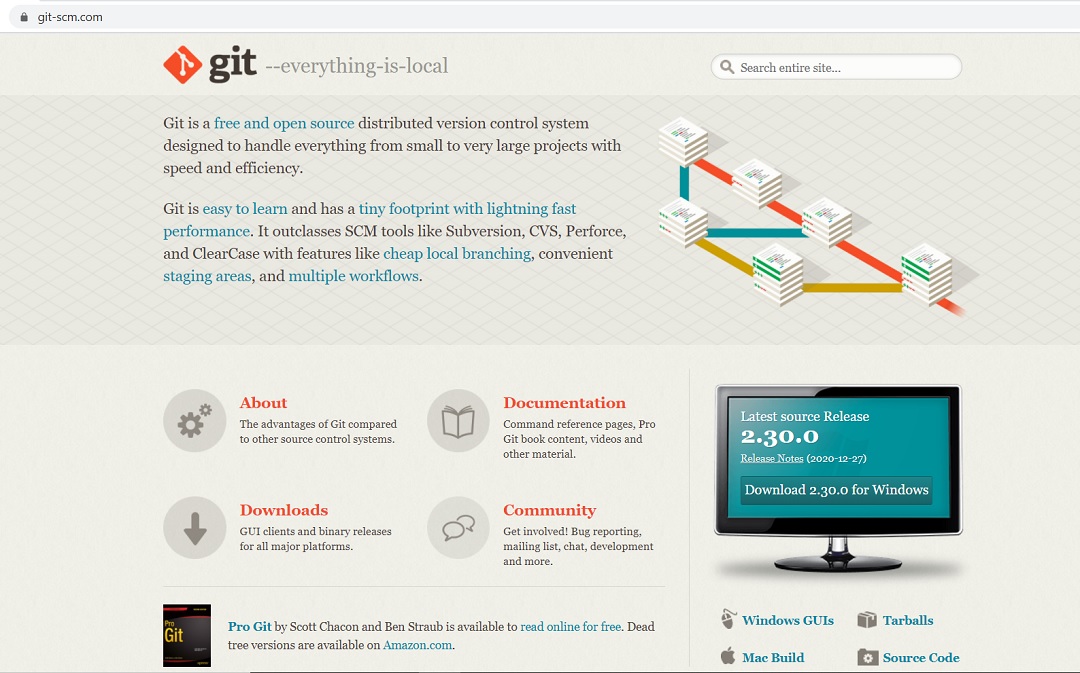
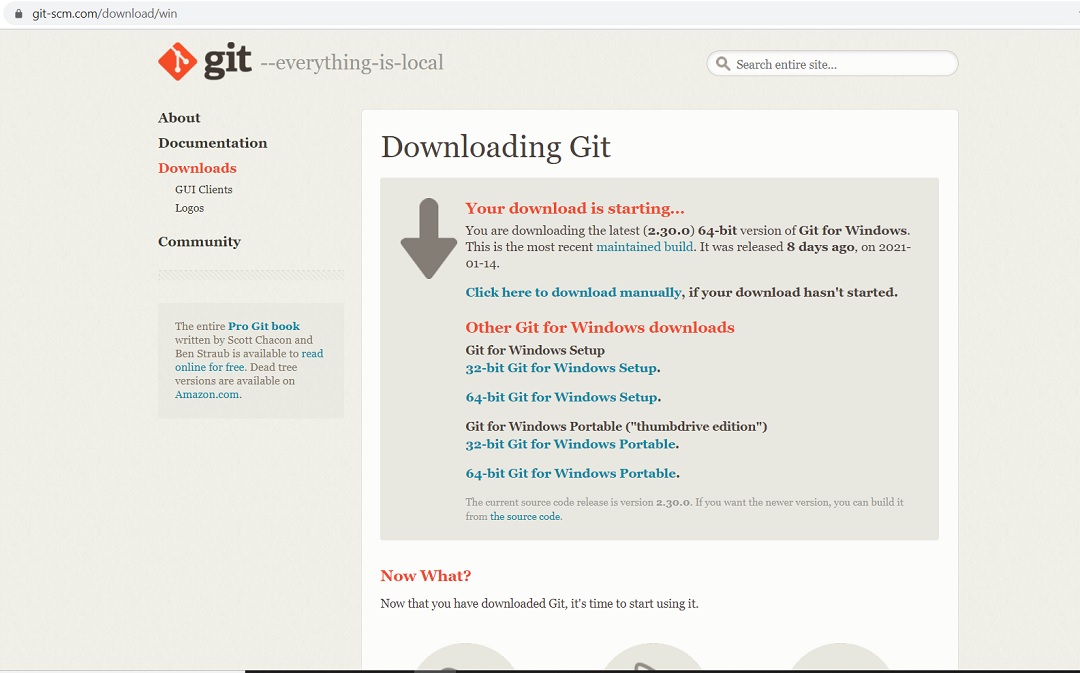
You can download the installer from the official Git-scm website.
Click on Windows to download the installer for Windows. The file name would be something like Git-2.30.0.2-64-bit.exe and file size would be around 46.5 MB.
Step 2 – Run the installer
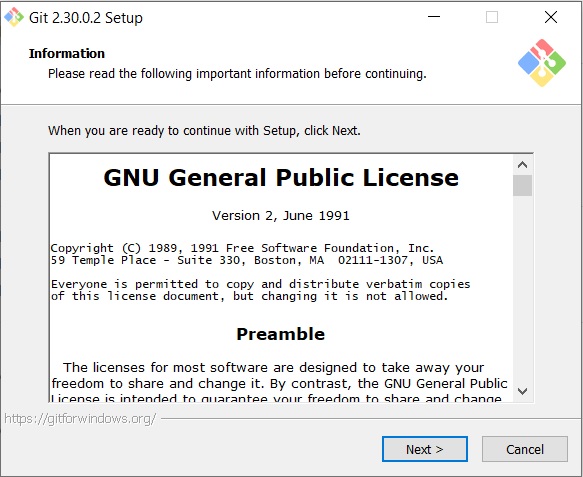
The installation process is a standard windows installation process. Double click on the downloaded installer file to start the installation process.
Click on next to continue.
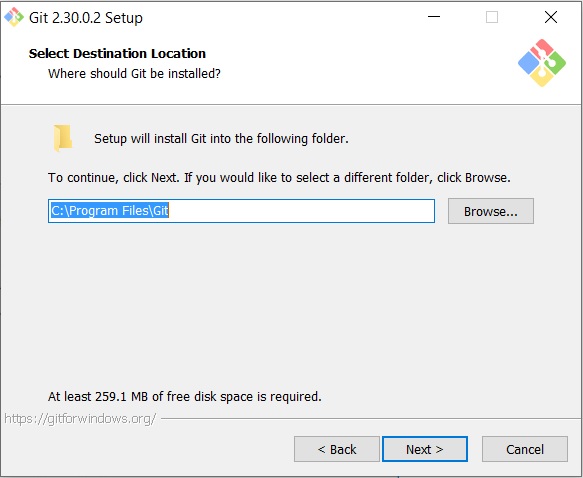
Step 3 – Select destination folder
Now you will be asked to specify the destination folder where Git will be installed. I leave it as default. It makes no difference if you install it at some other location.
Click next to continue
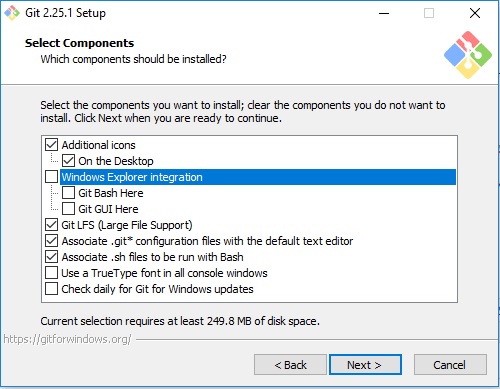
Step 4 – Select Components folder
Now you can select the components that will be installed. You can accept the default but normally I select the Additional Icons and uncheck Windows explorer integration. If you leave Windows explorer integration checked, you will see git option when you right click in any folder to initialize git. I find this irritating and I normally initialize git repository using the git init command in the terminal.
Click next to continue.
Step 5 – Select Start menu folder
I accept the default and click next to continue.
What it will do is that it will place the Git shortcut in the start menu folder so that it will be available from the start menu. Start menu folder is at C:\ProgramData\Microsoft\Windows\Start Menu\Programs
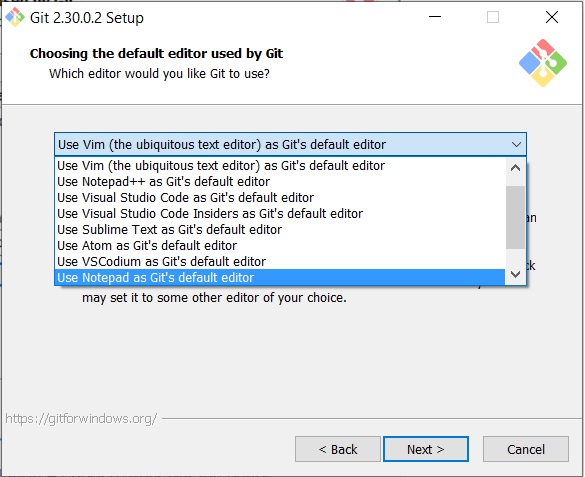
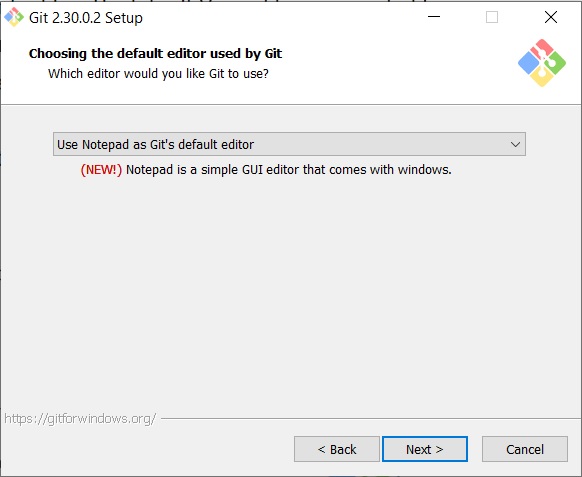
Step 6 – Choosing default editor
You need a text editor to edit the git config files. By default Vim editor is provided for windows. You can accept the default or select from the drop down list. I like to use Sublime text as my text editor. Some people like to use Notepad++ or Visual Studio Code.
If you have installed sublime text or notepad++ or visual studio code, select it from the drop down list.
If you use some other editor, you can specify executable path by selecting the last option “Select other editor as
Git’s default editor” and you will be asked to provide the path of the executable of the text editor.
I use Notepad which is simple to use and gets my work done. Most of the time you will be working with Git using an IDE where you can edit your git files. So, select any text editor you are comfortable with and move on.
click next to continue.
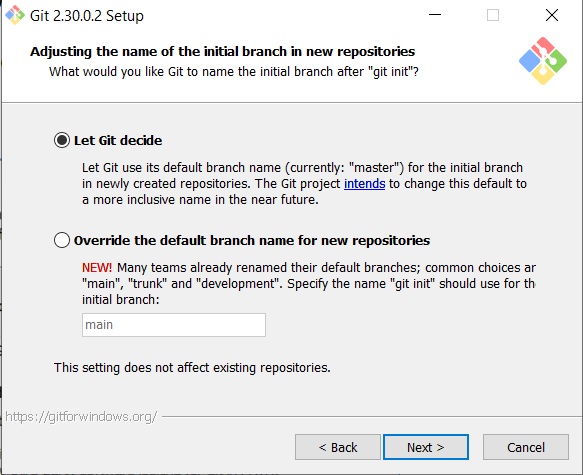
Step 7 – Adjust Name of Initial Branch
A new git repository is created using git init command with a default master branch master. In this dialog box, you can use this default behaviour or enter the name of the initial branch to be created instead of master.
I accept the default here.
Click Next to continue
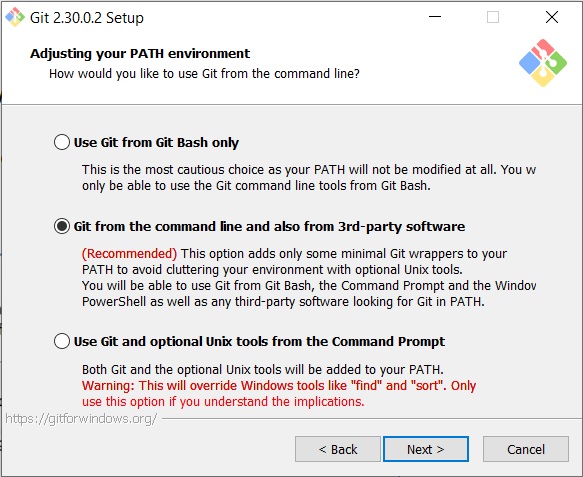
Step 8 – Adjust path environment
Here we choose how we use git from command line. Leave it as it is for windows and click next to continue.
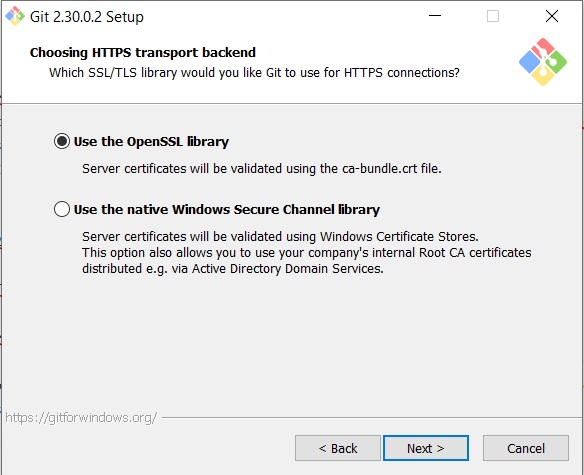
Step 9 – Choose HTTPS transport backend
HTTPS transport backend is how Git validates HTTPS connections. Leave the default and click next to continue.
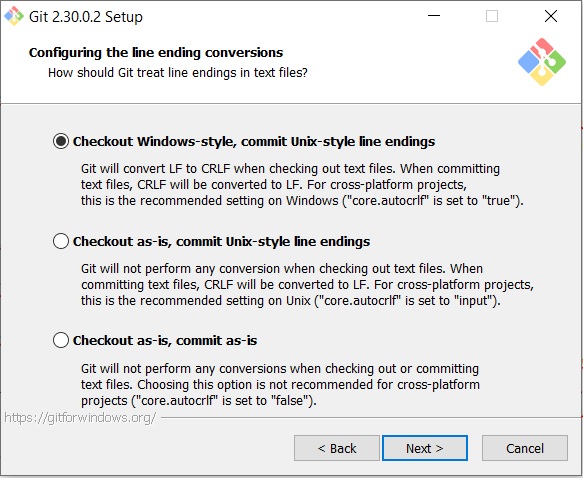
Step 10 – Configuring the line ending conversions
Leave this as default and click next
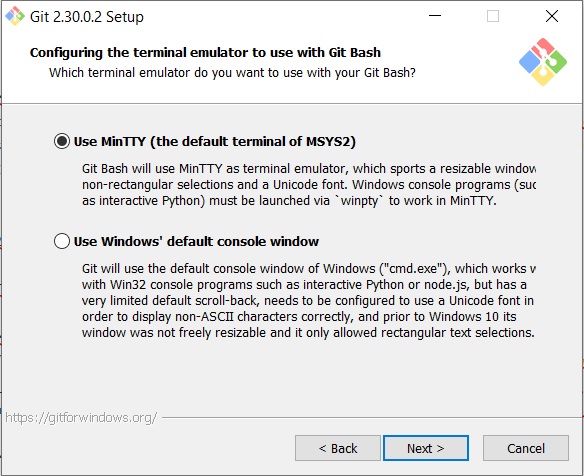
Step 11 – Configuring the terminal emulator
Choose Use Window’s default console window and click next.
Step 12 – Choose git pull default behaviour
Leave the default as it is and click on next to continue
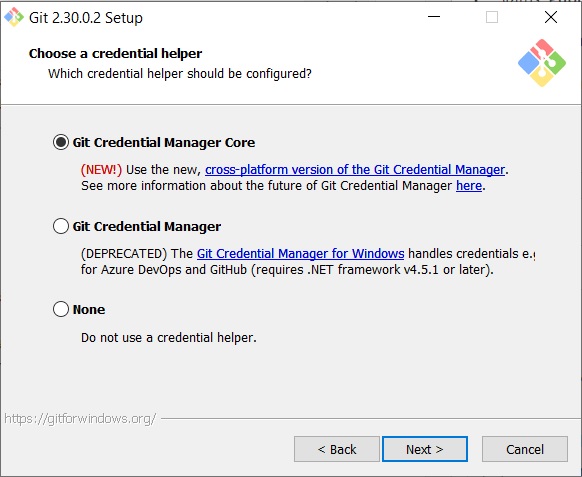
Step 13 – Choose a credential helper
Leave the default as it is and click on next to continue
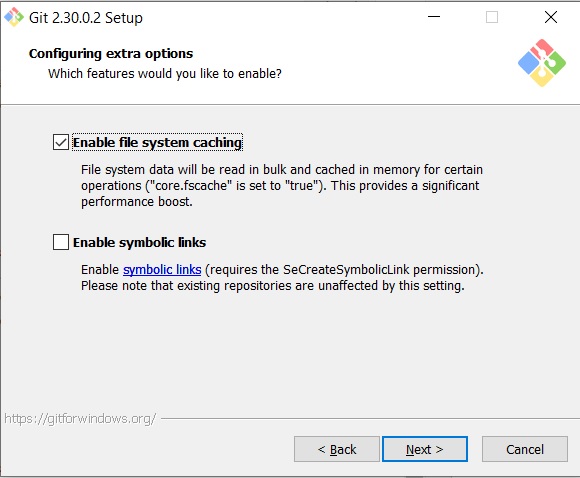
Step 14 – Configure extra options
Leave the default as it is and click on next to continue
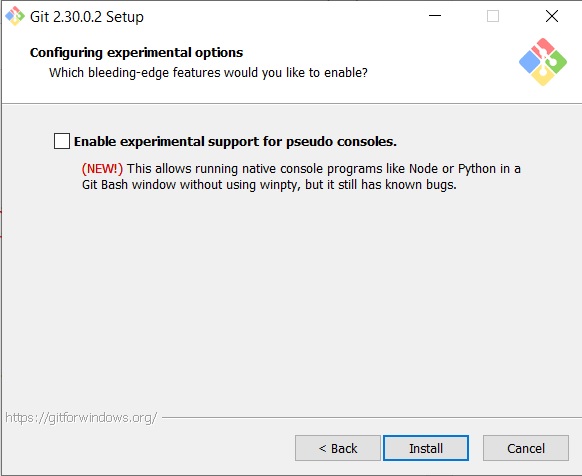
Step 15 – Configure experimental options
Leave the default as it is and click on install to continue. I normally do not enable experimental features as they are still in development
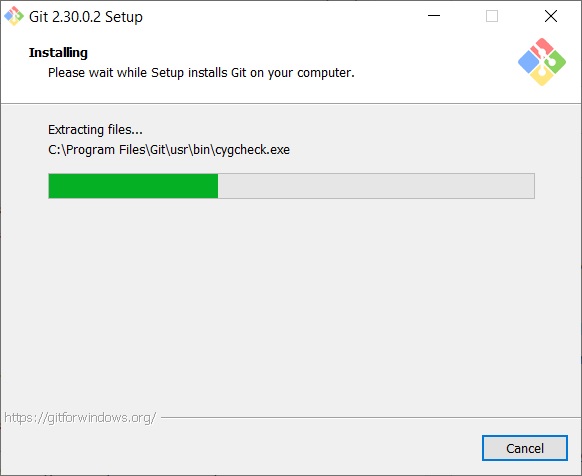
Installation will begin, wait for the process to complete.
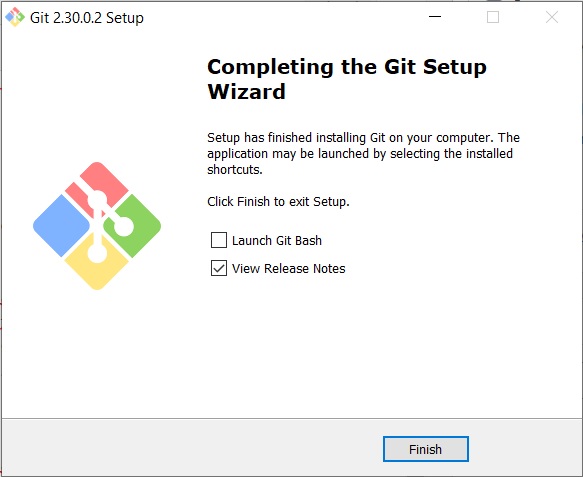
When the installation completes, you will see the below screen, click finish to complete the installation process.
You might see release notes page open in the browser.
That’s it Git is installed.
Step 16 – Check Git version
Open powershell or command prompt and enter the following command to check the version of installed Git.
git version
That’s it, Git scm is installed. Thank’s for visiting my blog.
